So, I’ve just moved into an incredible little place in the central Auckland area. It’s an apartment, but the most amazing part is that I have it all to myself! The hallway, bedroom, bathroom, boiler room, living room and kitchen is all mine! I’m super chuffed with it, but by far, the most exciting part to me is that I have a living room all to myself, where I can lay back and watch a movie at the end of a long day on my TV! One issue with that though, my TV isn’t exactly uhh… smart.
Not that it’s a bad TV by any means, it’s a 32” Veon TV that I bought several years ago and it works great, but due to it being a Warehouse OEM TV, it’s not capable of any sort of ‘smart’ functionality sadly. Later revisions are, but mine sadly isn’t. All I had plugged into it was a CFW’d PS3 Slim running a piece of homebrew called Movian (as well as my totally legally obtained game backups, cough cough). Movian is a piece of homebrew for the PS3 that allows for viewing media via the internal hard drive, DLNA shares, IPTV resources and it has plugins capable of ripping content straight from reputable torrent trackers such as YTS, TGx (RIP 🙏) and ezTV. However! While all of these upsides are amazing, there are sadly two downsides which I will explain:
No Jellyfin or Navidrome support. For those of you unaware, I run Jellyfin and Navidrome instances accessible here and here. They’re running on an old laptop (HP ProBook 650 G1) with Ubuntu Server installed and it works absolutely amazingly. However, Movian does not have the ability to connect to Navidrome or Jellyfin instances natively. I’m sure that it is possible with a fork of the repo and a bit of creativity when it comes to making your own plugin, but I decided not to go down that route. So I enabled DLNA via a piece of software called MiniDLNA and I was able to fully access it via Movian. In fact, it even detected the share on my network automatically! Brilliant! However, when I went to play a 1080p MKV file, something bad happened which I will explain next.
The PS3 cannot handle 1080p encoding (mostly). The PS3’s PPC-based Cell CPU is pretty good, but it is showing its age in 2025. Of course 1080p encoding works on this through the Blu-Ray players methods (H.264 + FLAC), but for anything outside of that, you’re unlikely to get anything more than 3 frames per second. Which really sucks as most of my media uses HEVC (H.265) video and Dolby Digital Plus (E-AC3) audio. That’s just unusable for me.
So, while I am of course going to still use my PS3 for the thing that it was designed to do (play games obviously), I can’t get it to watch any of my local media which absolutely sucks. So, what’s the next best thing… a Chromecast!
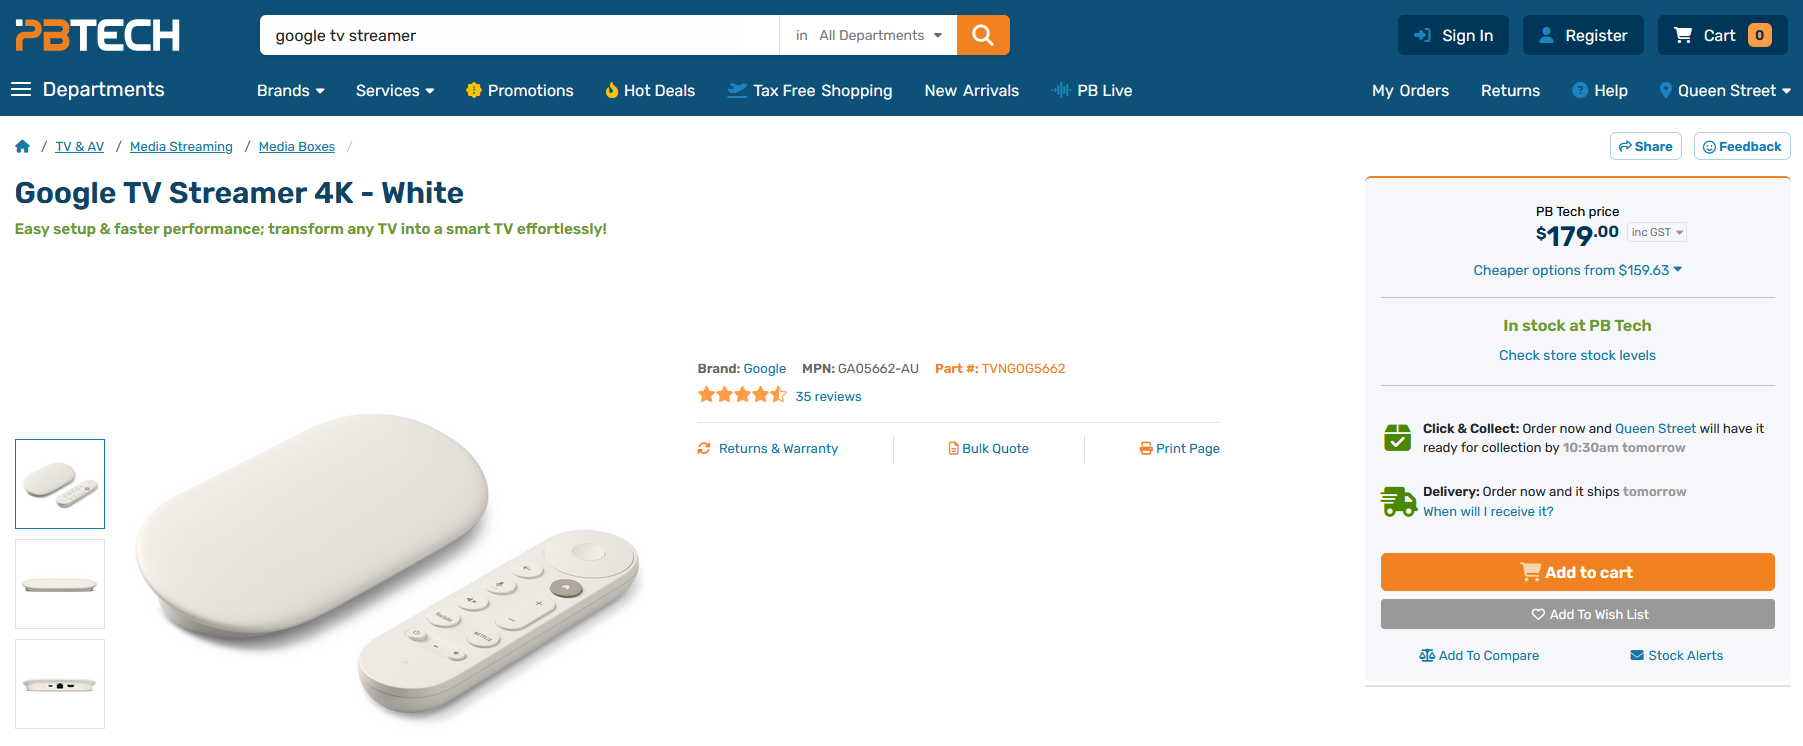
Unfortunately, all Chromecast models lack Android TV (to interface with my local services), but what doesn’t lack Android TV is Google’s new ‘Google TV Streamer’! Sadly, the price is a whopping $179 NZD! That’s $104 USD for my American friends and £77 GBP for my British friends!
Completely out of my price range. So I settled for the next best thing, an Android TV box from everyones favorite website, AliExpress (boooooooo).
The first thing that came up when I searched for ‘Android TV box’ was this lil curiosity.
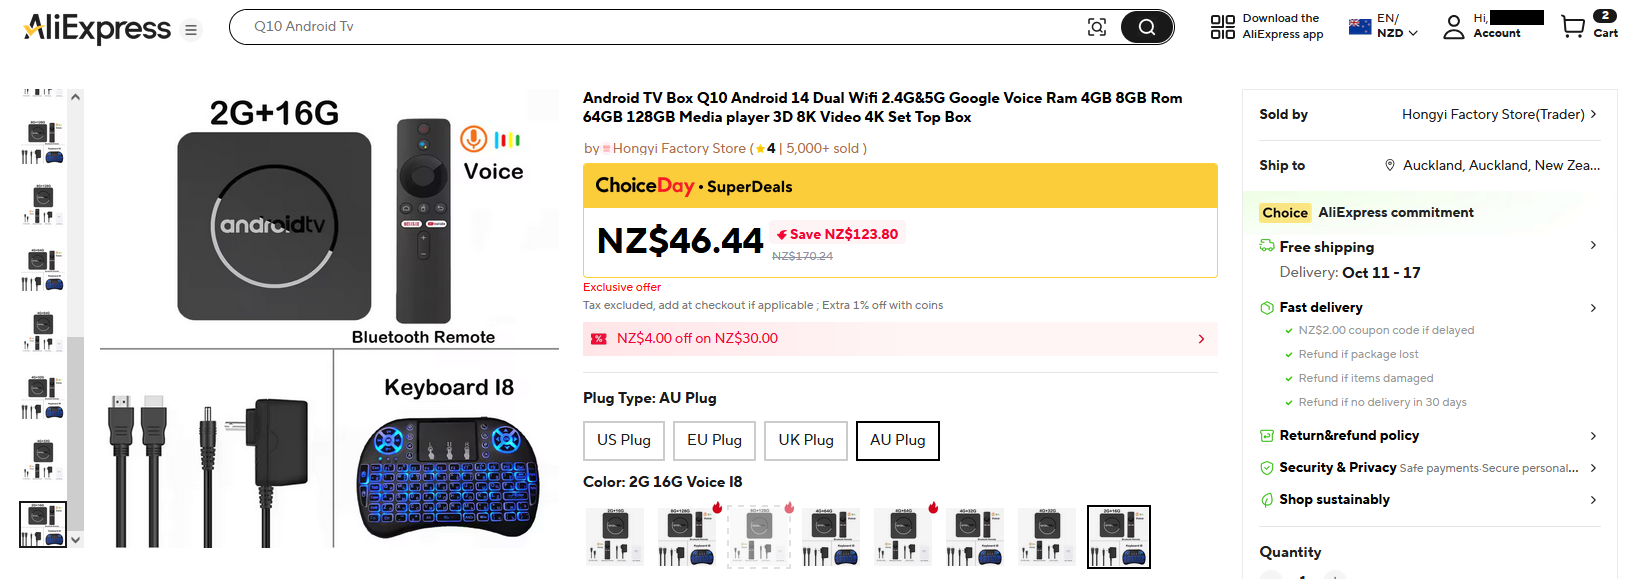
It’s called a ‘Q10’, all models come shipped with an Allwinner H313 SOC and has models that go from 2gb RAM/16gb ROM all the way up to 8gb RAM/128gb ROM. So with me being a cheapass, this being the cheapest one on AliExpress and not really needing 128gb of storage (as all of my media is living on my homelab anyways), I decided to buy the 2gb RAM/16gb ROM model with an extra keyboard controller. 2 weeks later and it finally arrived!
Now, I’ve seen these Chinese Android TV boxes in the past and I know how they work. Usually, many of them come preconfigured with 3 things:
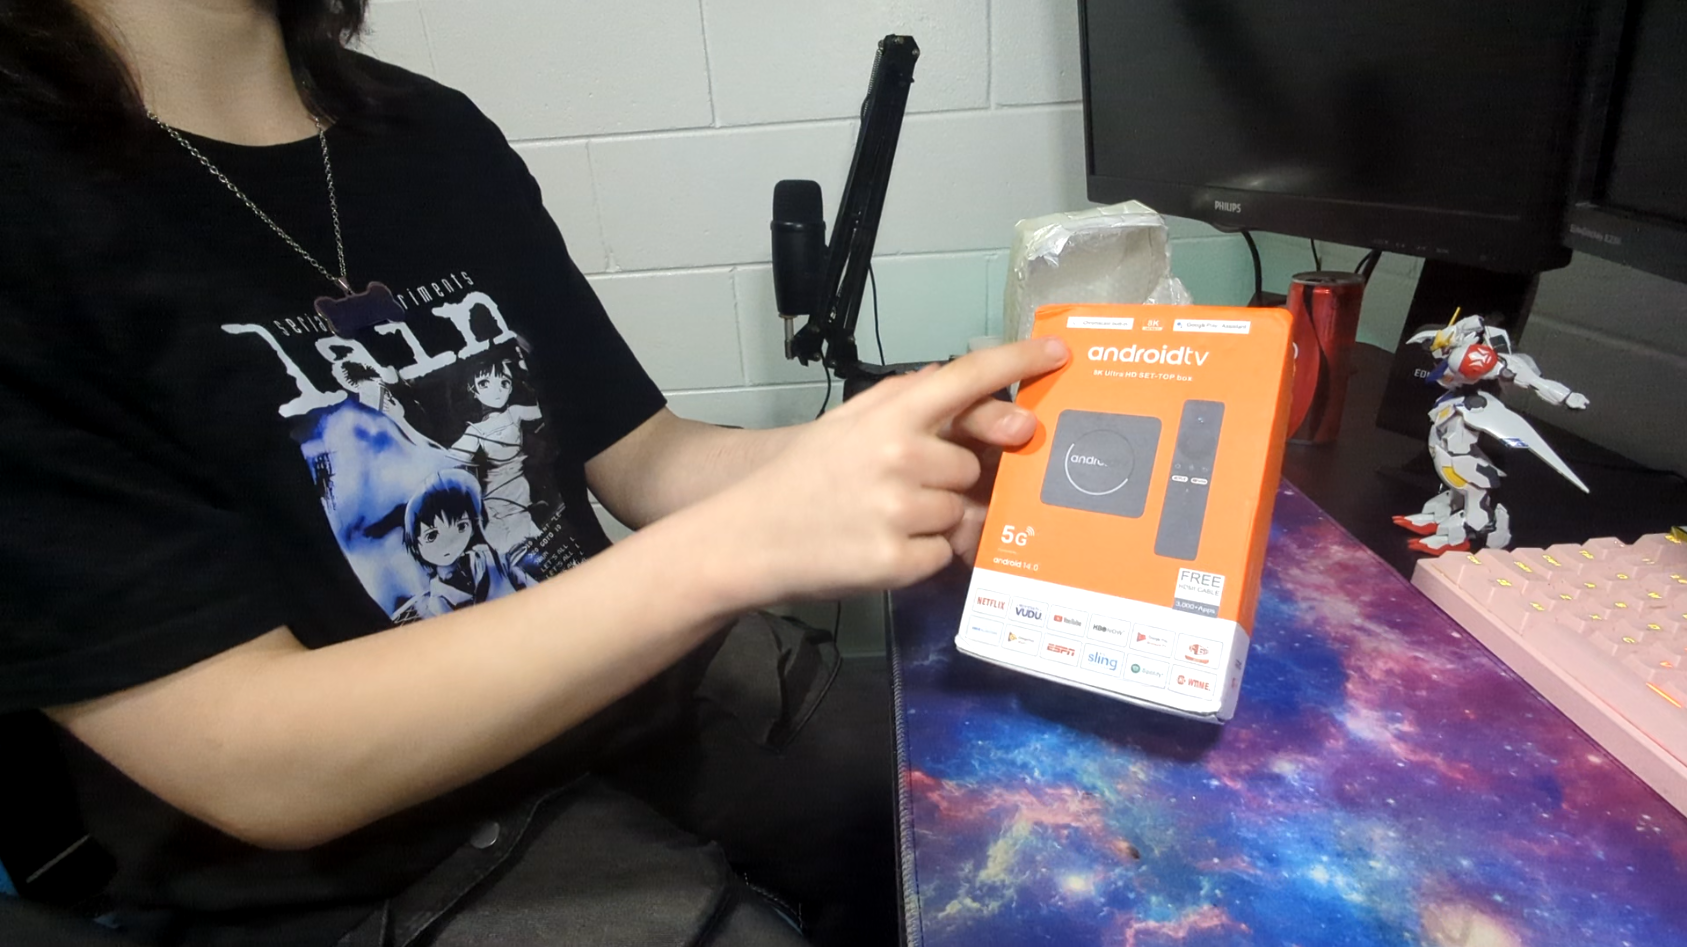
So it was basically my goal to remove both of these things (and in the case of the first, remove the stock launcher) because on MOST (not all) Chinese Android TV boxes, they look something like this and it makes me want to puke:
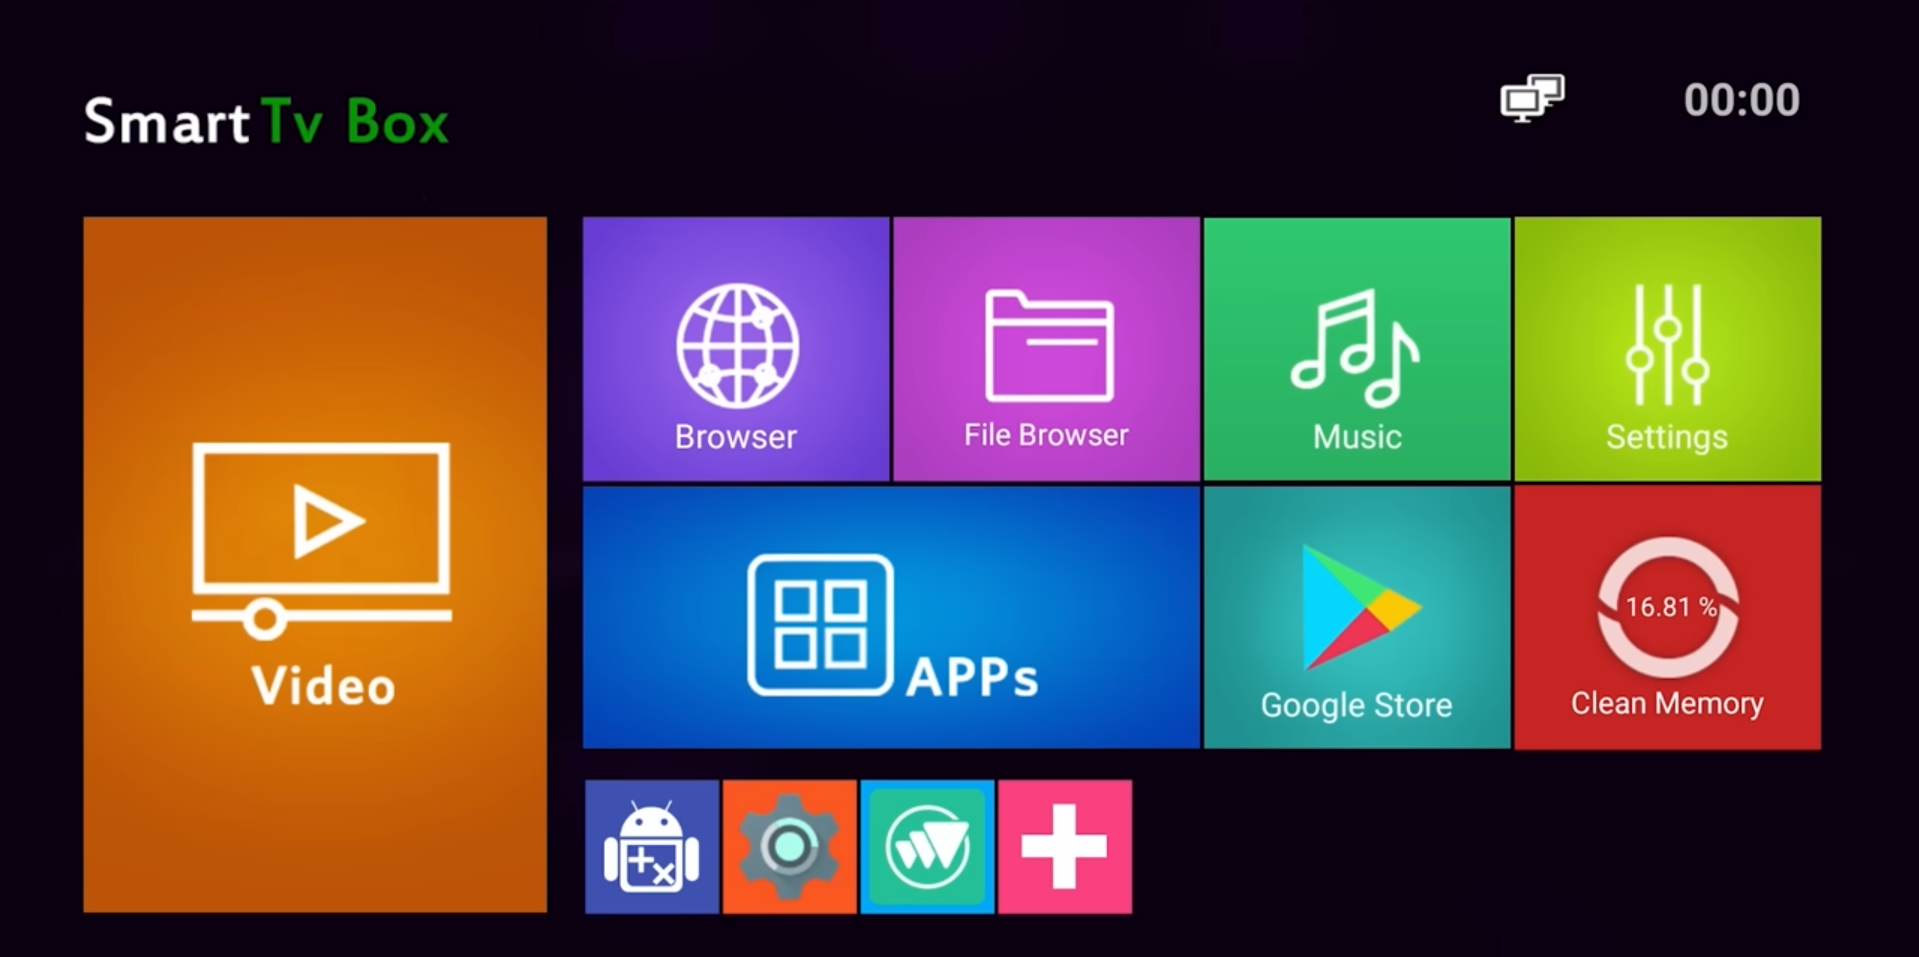
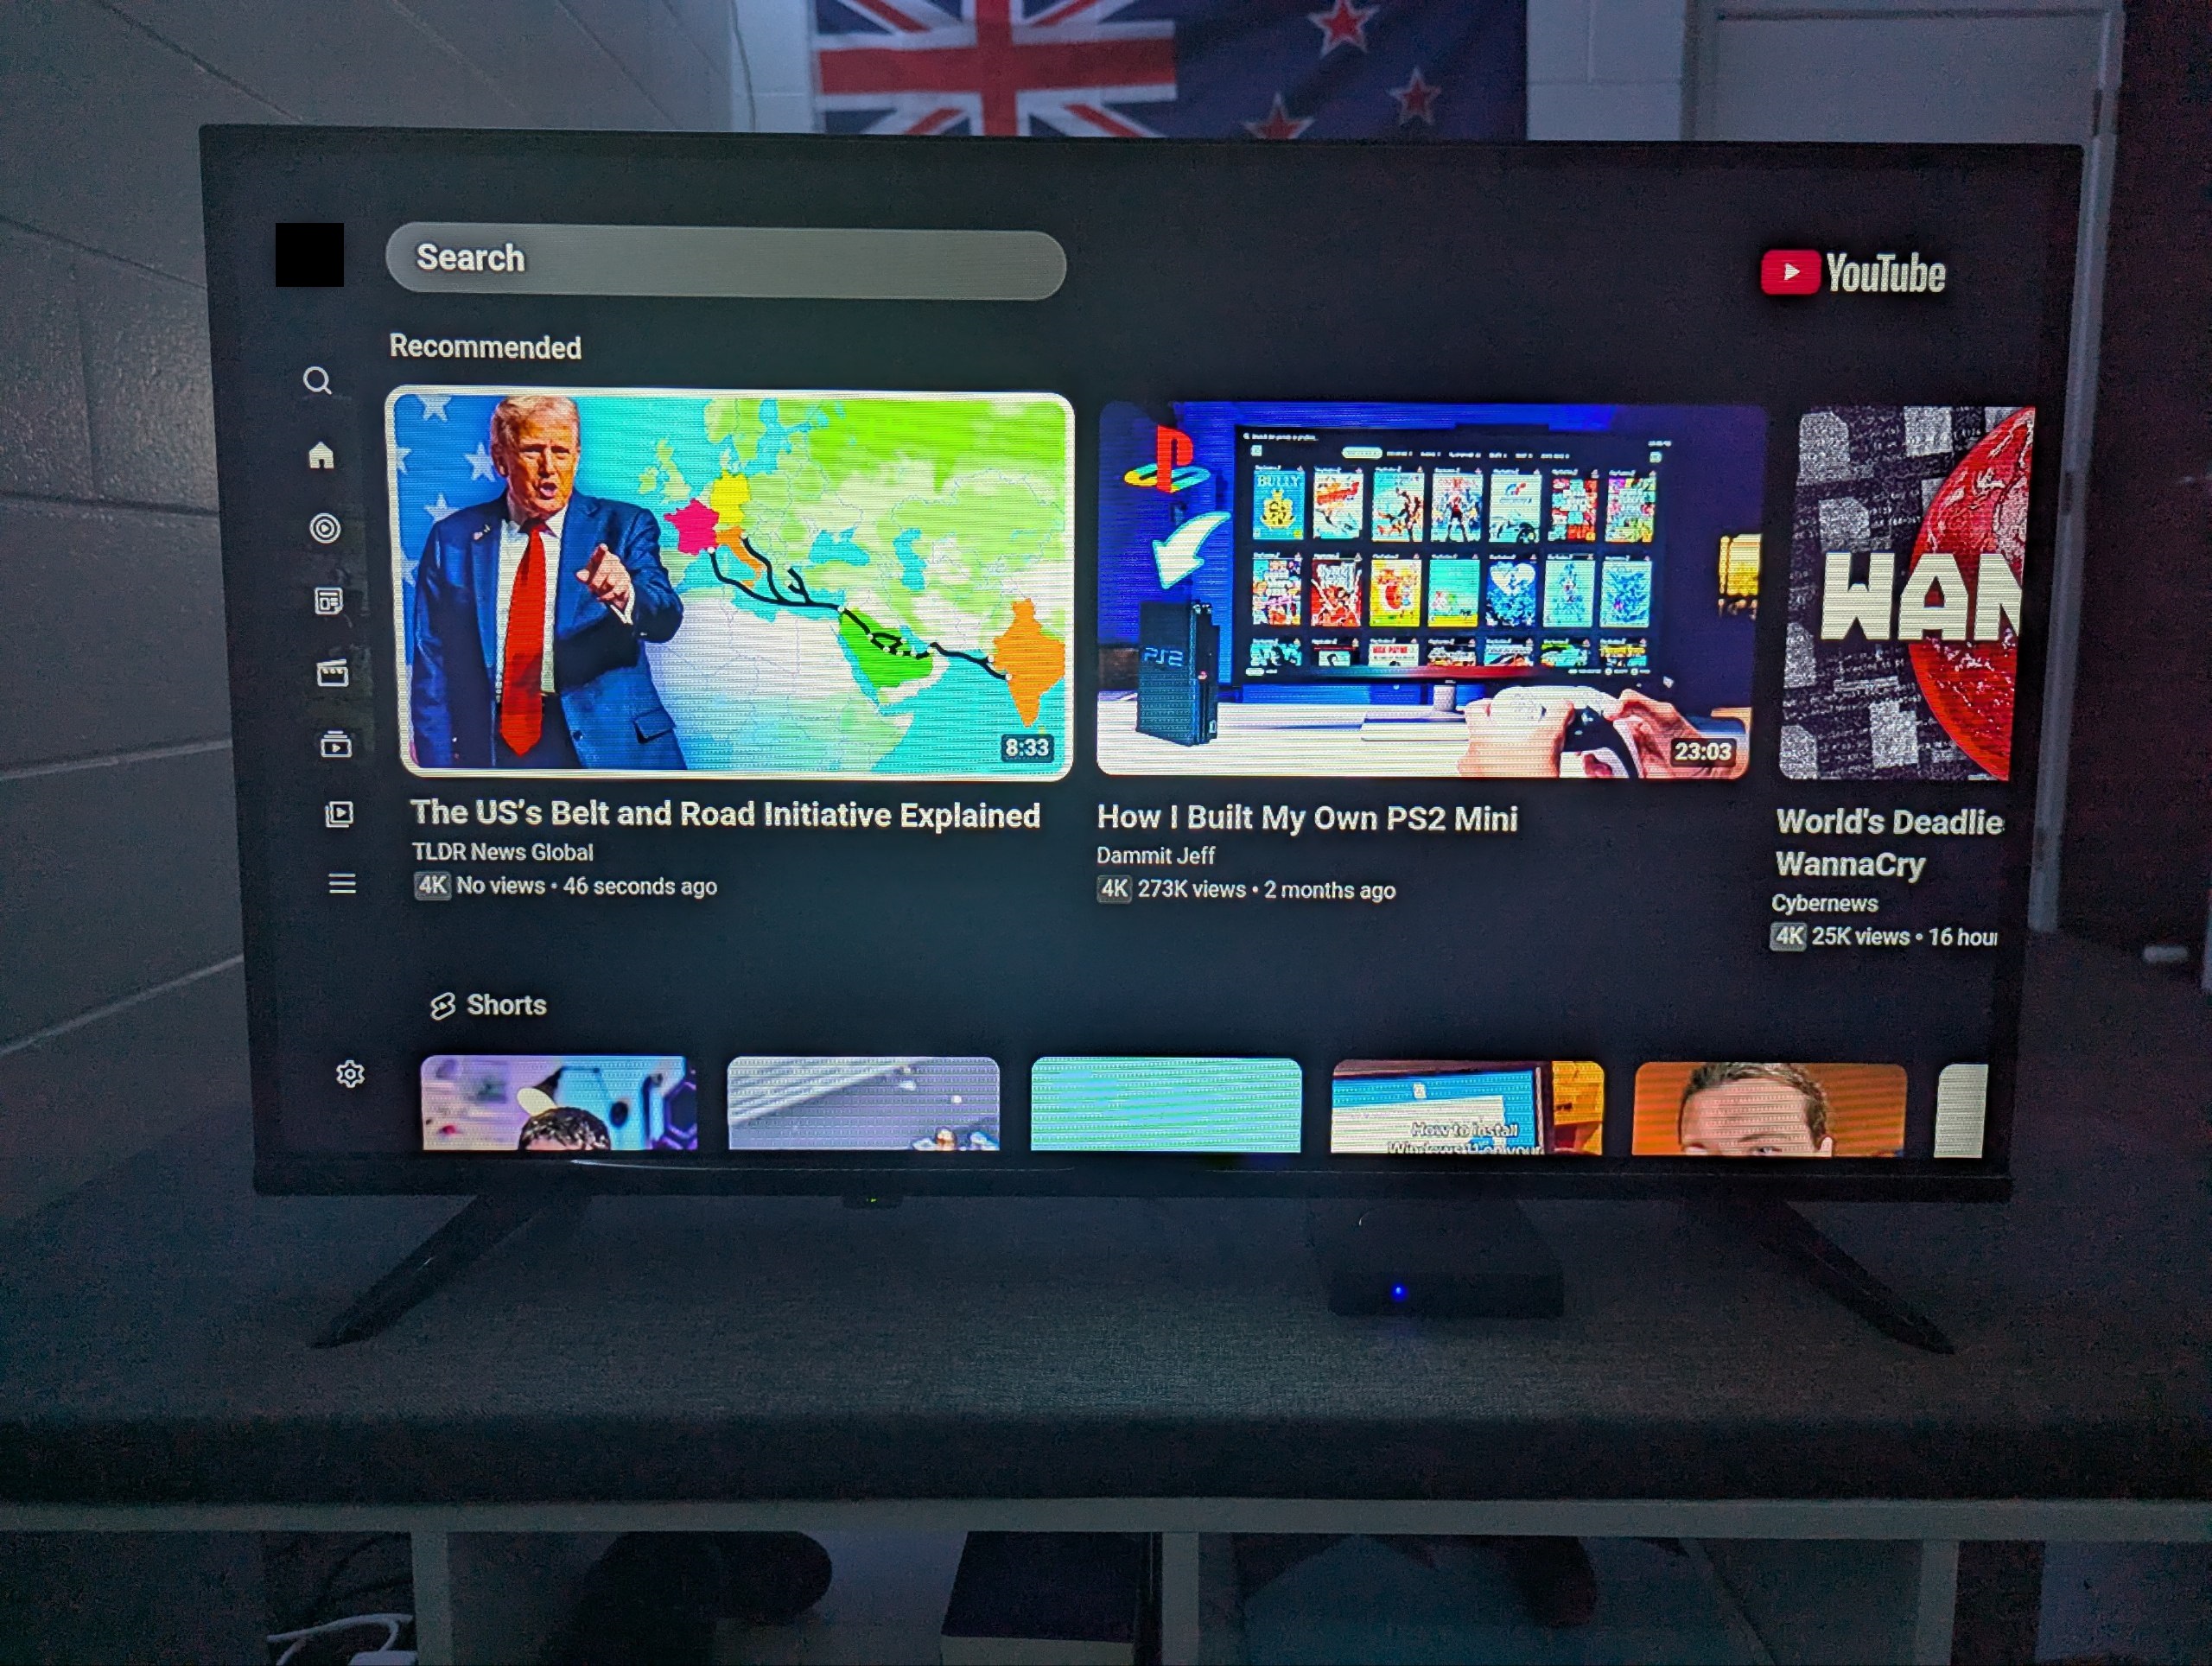
But anyways, once I unboxed the device (and popped down to the dairy to buy some AAA batteries for the remotes), I set it all up and surprise surprise, there wasn’t a gross looking launcher at all! It was as stock as stock can be (launcher-wise, wait for the next part).

So, with item 1 crossed off the list, I decided to move on with the other two. The next one on the list was ‘lying about system specifications’. The reason why I had this suspicion in mind was due to the reviews on the AliExpress listing. It’s a mixture of either bots or technologically incapable Latin American buyers giving the device 5 stars and praising this device for how marvelous it is, or some more technologically capable people who checked the specs of the device and were shocked.
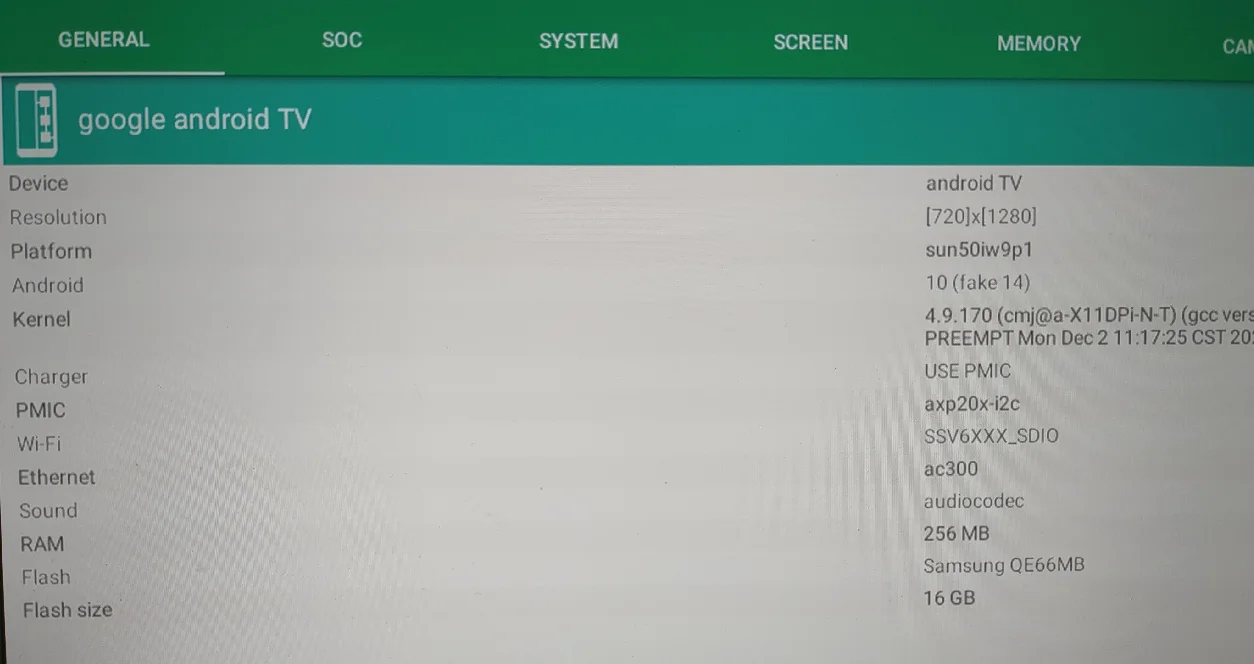
As we can see from this screenshot (helpfully provided by an anonymous Peruvian buyer), the machine has a maximum output of 720p (far from the 8k advertised on the box hahaha), it’s running Android 10 with the strings changed to say 14, and it only has a whopping 256mb of RAM!?!?!?!?!?
I really really wanted to check if this was real, or hey, maybe they just accidentally sent the guy a test unit by accident. So I downloaded an APK version of an app called ‘Device Info HW’ to see if my theory was correct. But sadly, I ran into an issue when attempting to install it.
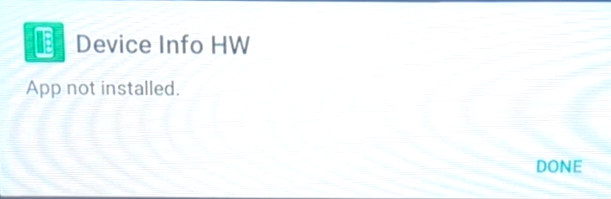
Hmmmmm~, well that’s odd! I tried downloading an even older version of the app from 2020, but I still got the same error! So I tried two similar apps named ‘DevCheck’ and ‘CPU Info’, but guess what happened…
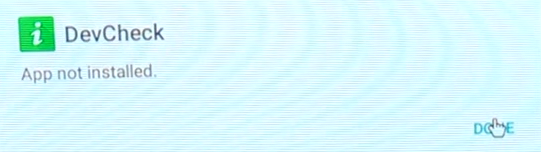
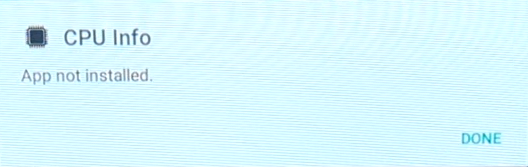
This leads me to only one conclusion, the manufacturer doesn’t wish to reveal the true specs of the device. They somehow have a blacklist of package names which reveal system specifications, OR these apps require a special permission to see system specs and the installer blocks all of them by default. Very very strange. The weirdest bit is that this device doesn’t block APK installation entirely, I was able to get Total Commander installed on it with no issues. This is just… extremely shady to me. I think the Peruvian guy who left the AliExpress screenshot earlier raised some alarm bells for the manufacturer, so they added in the blocklist on later revisions.
The ONLY solution I found to this was (and many of you are gonna laugh at me rightfully)… Termux and Neofetch. No, I’m not joking, take that in for a second. But it did surprisingly work to my astonishment. The only issue was that the on-screen keyboard showed up the whole time, which meant that I had to pipe neofetch to a text file and read it with Nano as I wasn’t able to read the whole thing. And when I did, I was shocked!
It is indeed showing 2gb of RAM and Android 14! I would later come to learn that this is a flat out lie, but it really does go to show how far the manufacturers went out of their way to fabricate the true system specifications. The way how I came to learn that it was really running Android 10 was by going to the Settings of the device and looking at the preinstalled apps, there we can see something very curious.
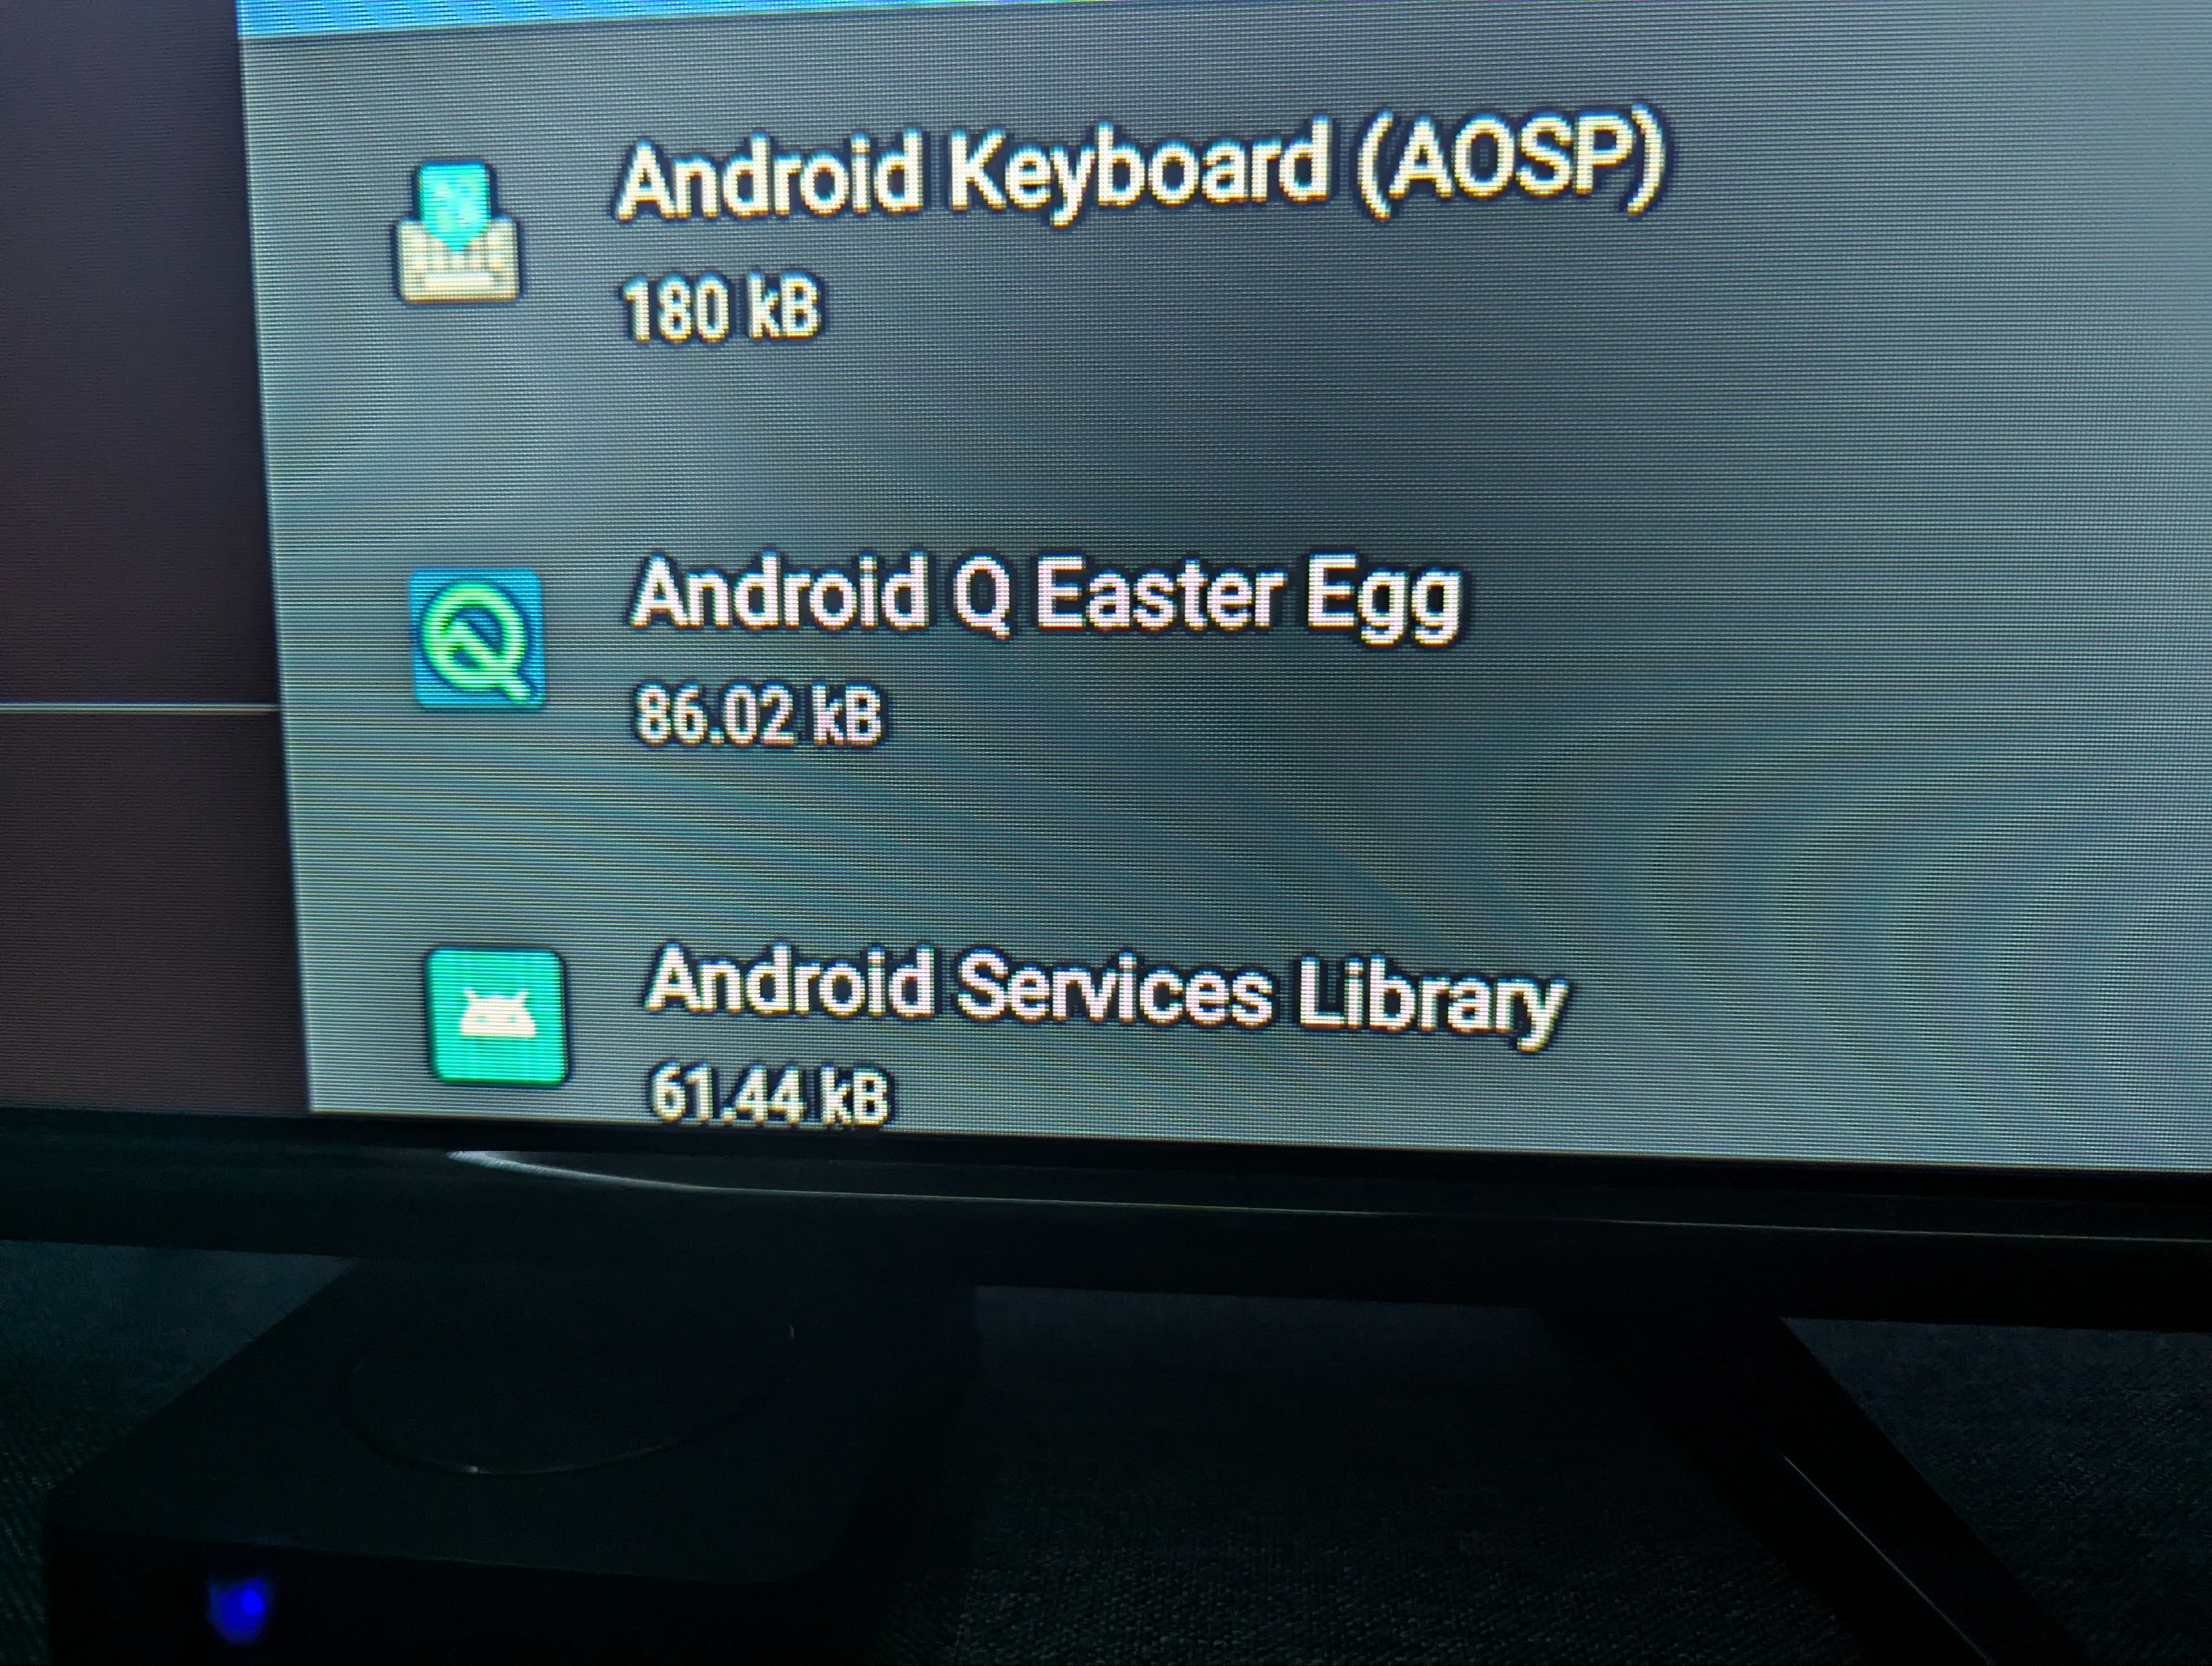
For those of you unaware, Android Q was actually the codename for Android 10. So now we know the truth!
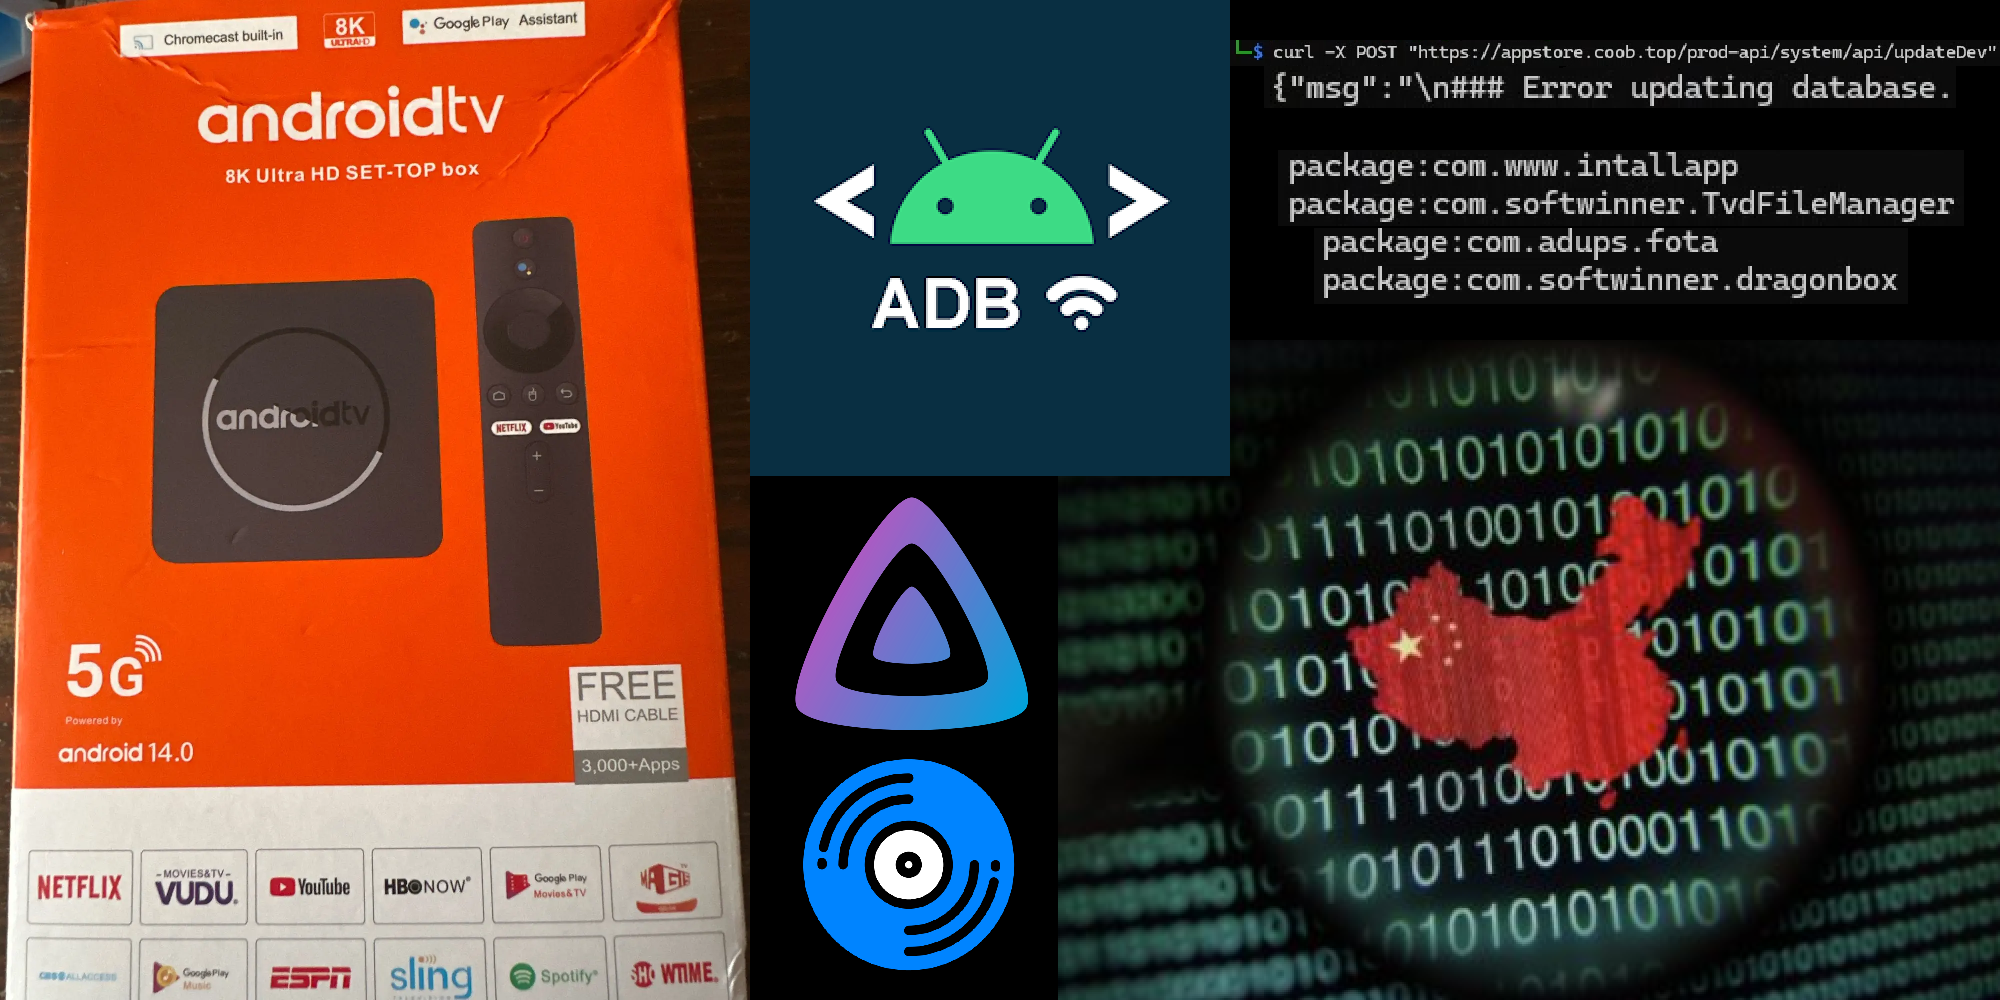
Whew, so with that out of the way, now we can confirm (at least one of) the actual system specs, so I decided to put that idea on hold for now and turn to the third goal of my project, removing all the malware. But firstly, I’d need to see what malware actually comes included in the machine. So, off to ADB we go!
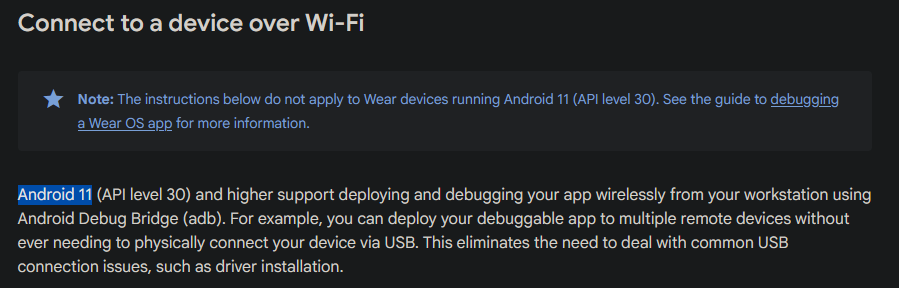
Quick explainer for some of you, ADB is the Android Debug Bridge. It’s basically a piece of software that comes included in the Android SDK which allows for any PC running Windows, Mac or Linux to interact with the internals of any Android device. All that’s needed for this to work is for an option in the Developer Settings in the Android device to be enabled to work for this. On most Android devices like phones and tablets, an option called ‘Allow USB debugging’ is all that’s required for this to work. However, the keen-eyed among you may have realized an issue. In order for what’s called ‘wired ADB’ to work, that requires a USB-C or micro-USB port to be installed in the system which then gets connected to my PC, which this one sadly doesn’t. What is on our side though is a function called ‘wireless ADB’. This works exactly in our favor, however it does require for an option called ‘Enable wireless debugging’ to be enabled in the developed options as well. Yet when I tried to look for it in the settings, it just, wasn’t there. Upon further research, guess what, wireless ADB is only a feature that was introduced in Android 11!
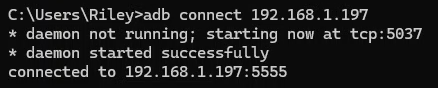
However, I should explain more about what the Android SDK docs exactly mean by ‘wireless ADB’ though, as it isn’t as bad as I made it sound. Wireless ADB has 2 meanings in Android, either one where you pair it via a pairing code or QR code (which is what was introduced in Android 11), but you have always been able to just run the command:
adb connect $device_ip_hereSo by doing that, ta-da!!!
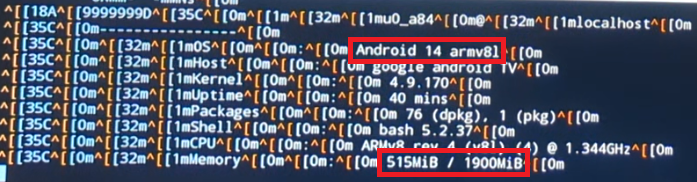
Anyways, the very first thing I did was to check the system specs once again because my dumb ass cannot let shit go.
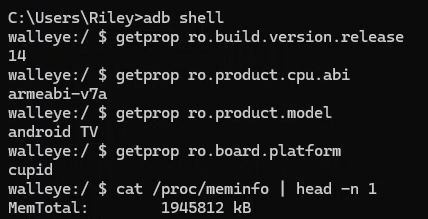
So, it was lying about being an ARMv8 chip as it’s very clearly ARMv7a, but it is still displaying Android 14 and 2gb of RAM, very strange. But anyways, let’s press on!
I ran the command:
adb shell pm list packagesSo I could see the full list of packages installed on my system, it looked like this:
com.softwinner.TvdVideo
com.android.cts.prov.ctsshim
com.google.android.ext.services
com.google.android.katniss
com.android.providers.telephony
com.android.dynsystem
com.android.providers.calendar
com.android.tv.settings
com.android.providers.media
com.google.android.onetimeinitializer
com.android.wallpapercropper
com.actions.hidaudio
com.softwinner.awlogsettings
com.android.documentsui
com.android.externalstorage
com.android.htmlviewer
com.ghisler.android.TotalCommander
com.android.companiondevicemanager
com.android.mms.service
com.android.providers.downloads
com.android.providers.tv
com.android.networkstack.inprocess
com.adups.fota
com.softwinner.dragonbox
com.google.android.configupdater
com.sv.tvcustomizer
com.android.providers.downloads.ui
com.android.vending
com.android.pacprocessor
com.android.simappdialog
com.android.modulemetadata
com.android.certinstaller
com.google.android.leanback.ime
com.google.android.landscape
android
com.android.camera2
com.liajt.otaapk
com.android.egg
com.android.mtp
com.android.nfc
com.android.nfx
com.android.backupconfirm
com.nst.iptvsmarterstvbox
com.android.provision
com.android.statementservice
com.android.hotspot2
com.swe.myapplication
com.www.productdeclare
com.android.settings.intelligence
com.ui.lb.tvui
com.android.providers.settings
com.android.sharedstoragebackup
com.android.printspooler
com.android.dreams.basic
com.android.webview
com.android.se
com.android.inputdevices
com.android.bips
com.google.android.tvrecommendations
com.google.android.leanbacklauncher.recommendations
com.android.musicfx
com.google.android.tvlauncher
com.example.playreadydemo
android.ext.shared
com.android.onetimeinitializer
com.android.server.telecom
com.android.keychain
com.android.chrome
com.android.printservice.recommendation
com.softwinner.settingsassist
com.android.gallery3d
com.google.android.gms
com.google.android.gsf
android.ext.services
com.google.android.partnersetup
com.android.dreams.web
com.android.localtransport
com.android.packageinstaller
org.xbmc.kodi
com.android.proxyhandler
com.netflix.mediaclient
com.android.inputmethod.latin
com.android.managedprovisioning
com.allwinnertech.gmsintegration
com.amazon.avod.thirdpartyclient
com.example.vlc
com.allwinnertech.packageoverride
com.ftest
com.google.android.leanbacklauncher
com.google.android.backuptransport
com.android.storagemanager
com.android.bookmarkprovider
com.android.settings
com.android.networkstack.permissionconfig
com.termux
com.android.cts.ctsshim
com.google.android.youtube.tv
com.android.vpndialogs
com.android.mgstv
com.android.music
com.android.phone
com.android.shell
com.android.wallpaperbackup
com.android.providers.blockednumber
com.android.providers.userdictionary
com.ionitech.airscreen
com.android.location.fused
com.android.deskclock
com.android.systemui
com.android.bluetoothmidiservice
com.softwinner.awmanager
com.android.permissioncontroller
com.wncc.xhsxremote
com.softwinner.miracastReceiver
com.android.traceur
com.android.bluetooth
com.android.providers.contacts
com.android.captiveportallogin
com.www.intallapp
com.softwinner.TvdFileManager
android.auto_generated_rro_vendor__
So, most of this looks pretty normal right? Run of the mill Android packages. But there were a few things which caught my attention, one of which being a nifty lil package named ‘com.liajt.otaapk’. “OwO what’s this?” you may ask. To that I say you need to touch some grass but also, it is a program for OTA updates for the TV box. Basically, it calls a server to check if there are any new updates, and if there are, it downloads and installs it. Cool. Let’s take a little peek shall we?
So, I firstly pulled the APK via ADB from it’s location that was revealed by running:
adb shell pm path com.liajt.otaapkThen I bust open my favorite tool for APK decompiling (JADX) and got to work.
My first task was to see exactly what calls this program was making to what server to check for the newest update. The easiest way to do this is just to search for text in the decompiled APK, enable searching of classes, methods, fields, codes, resources and comments. Then my fellow bitches, bros and enby hoes, that’s when I found it!

As we can see in the screenshot, it seems to reference a class named ‘MyService’, so I dug inside and oh my God is it big, so I’ve decided to leave the decompiled source for the entire class here, but let’s take a closer look.
It’s messy Java that contains A LOT of obfuscated fixed strings and integers, but very gradually, we can start to piece some tidbits of information together.

Woah, that sure looks sketchy…
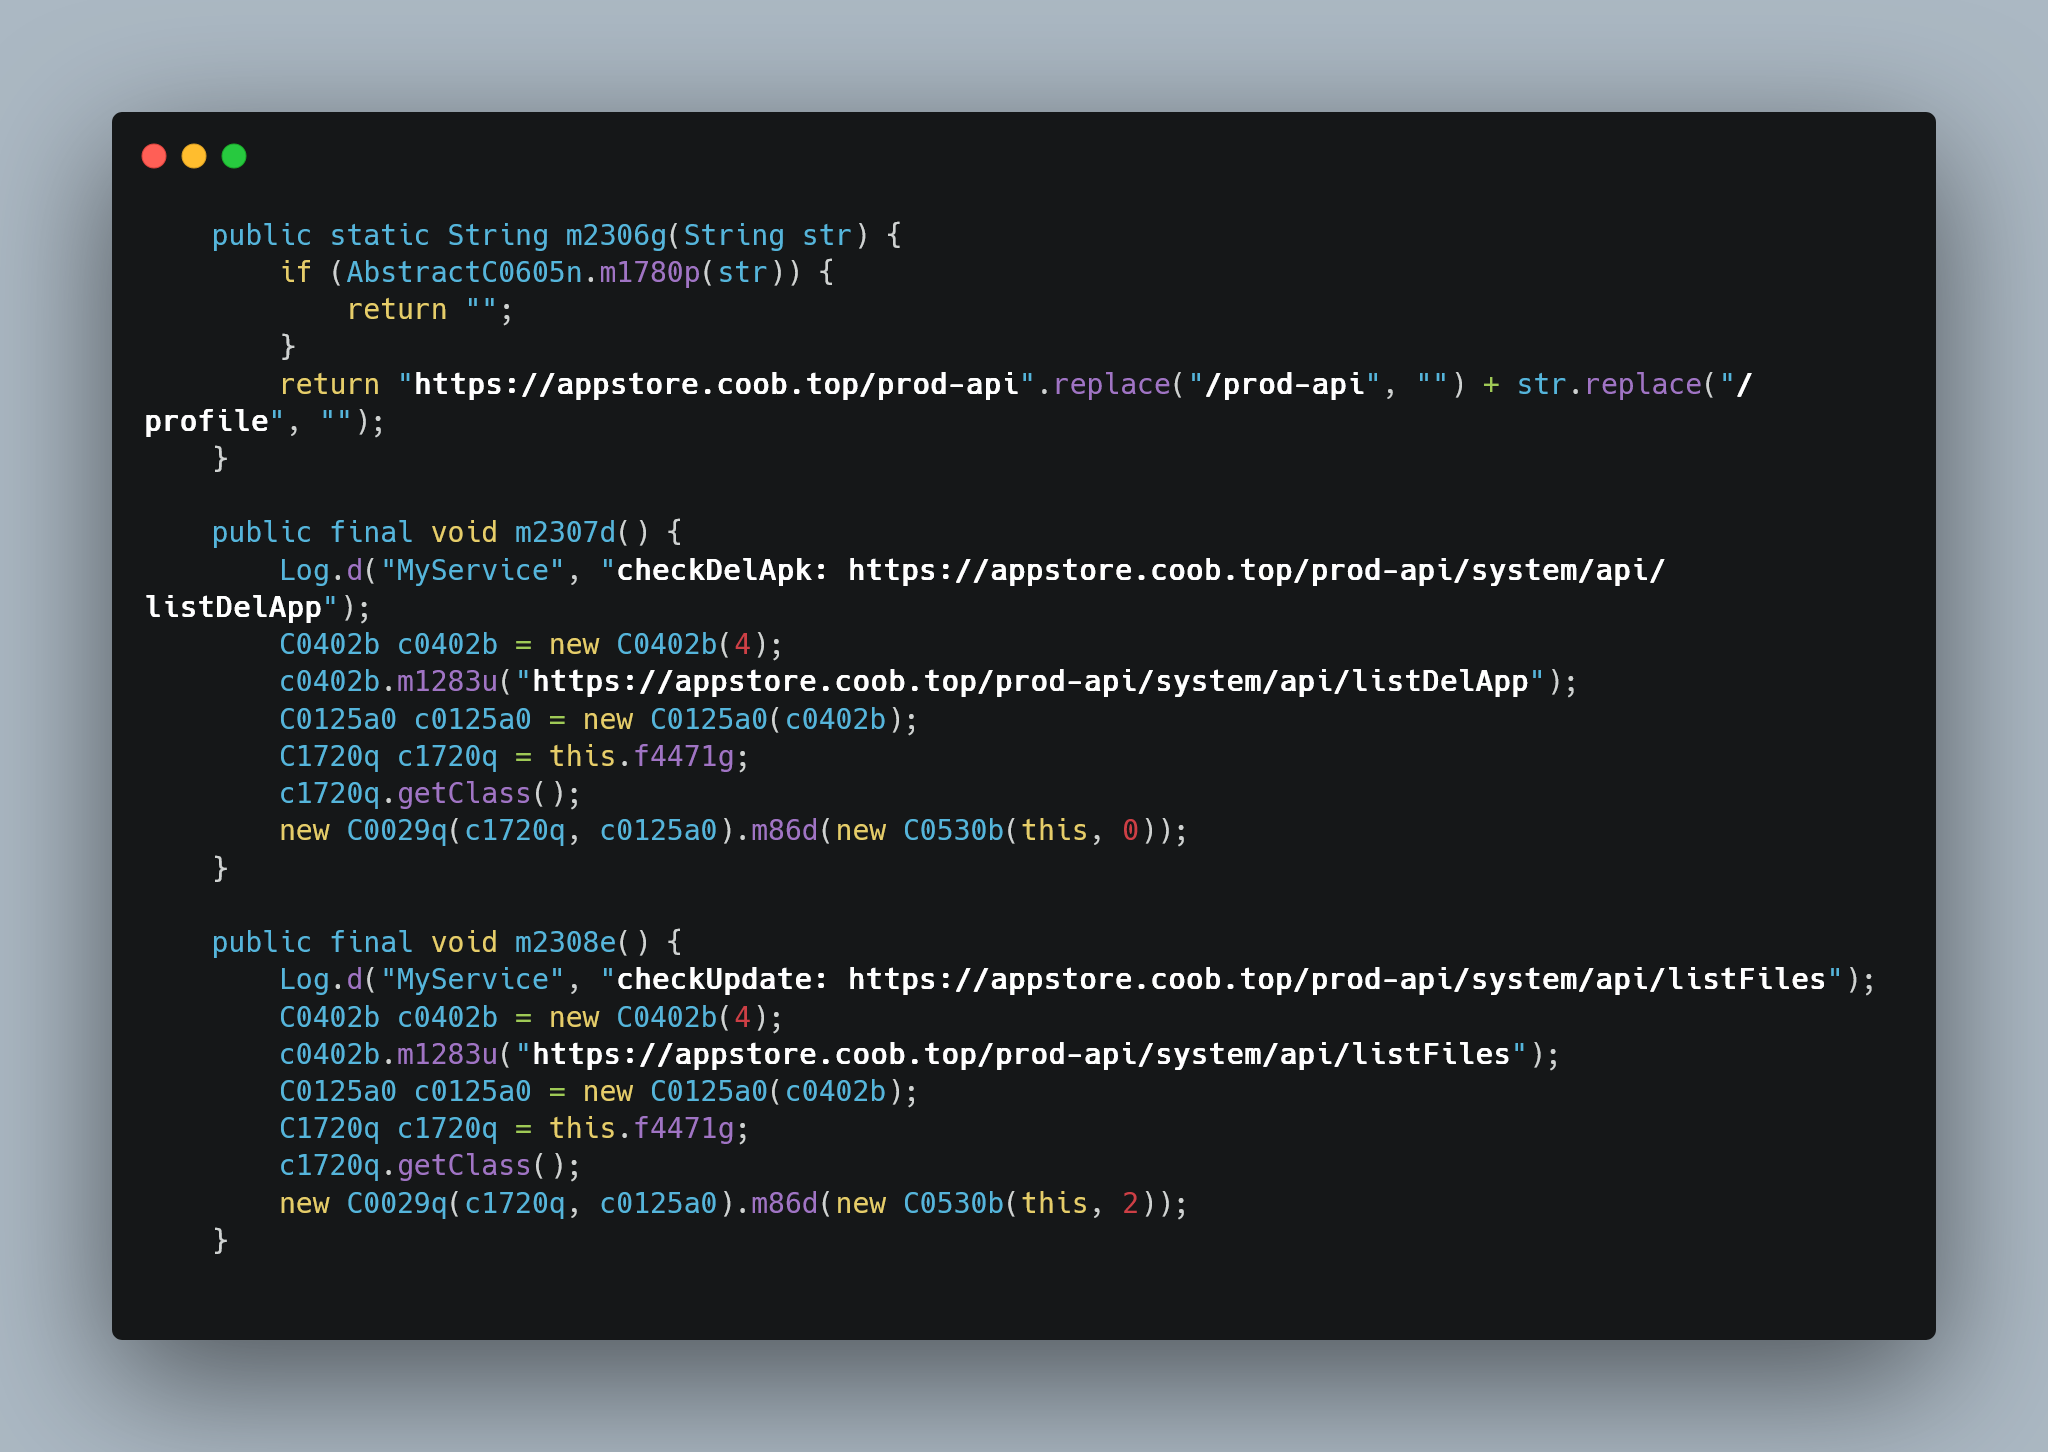
So, these are just 3 peculiar snippets of code from the MyService class, and we can see something interesting happen in each of them. I’ll start with describing what we get from these though, we now know at least 1 of the C2’s that this box talks to (no doubt there are more). It’s hosted at the URL appstore.coob.top and there seem to be a fair few API endpoints that we can play with here, with all of them being at the /prod-api path. But firstly, let’s dissect these snippets one by one shall we?
In the first snippet, we can see that it’s checking a string named ‘m1780p’ to see if it’s filled, if it isn’t, it then gets filled with https://appstore.coob.top/prod-api, but then replaces the /prod-api with /profile. Very odd, in the next variable (m2307d), we can see that it sends an internal log which says exactly: ‘checkDelApk: https://appstore.coob.top/prod-api/system/api/listDelApp’, then it does something with the aforementioned URL as it mentions it again, and then a bunch of Java fuckery that I cannot decipher
In the second snippet, we can see that there’s a catch for if the ‘onCreate’ class throws a SecurityException. From there it will try to gather information on the devices manufacturer, device model, version and chip type via shell commands, then it logs those internally in a string which displays them all neatly. I’m not at all bothered by this, very common practice to check that the update file which you’re getting is actually compatible with your system. What I am bothered with though is beneath that, where it uses the a site called ‘realip.cc’ (public IP revealer site) which then stores your IP in a string and sends it to the C2 later. This is extremely sketchy behavior and it is not at all normal with regular updating software.
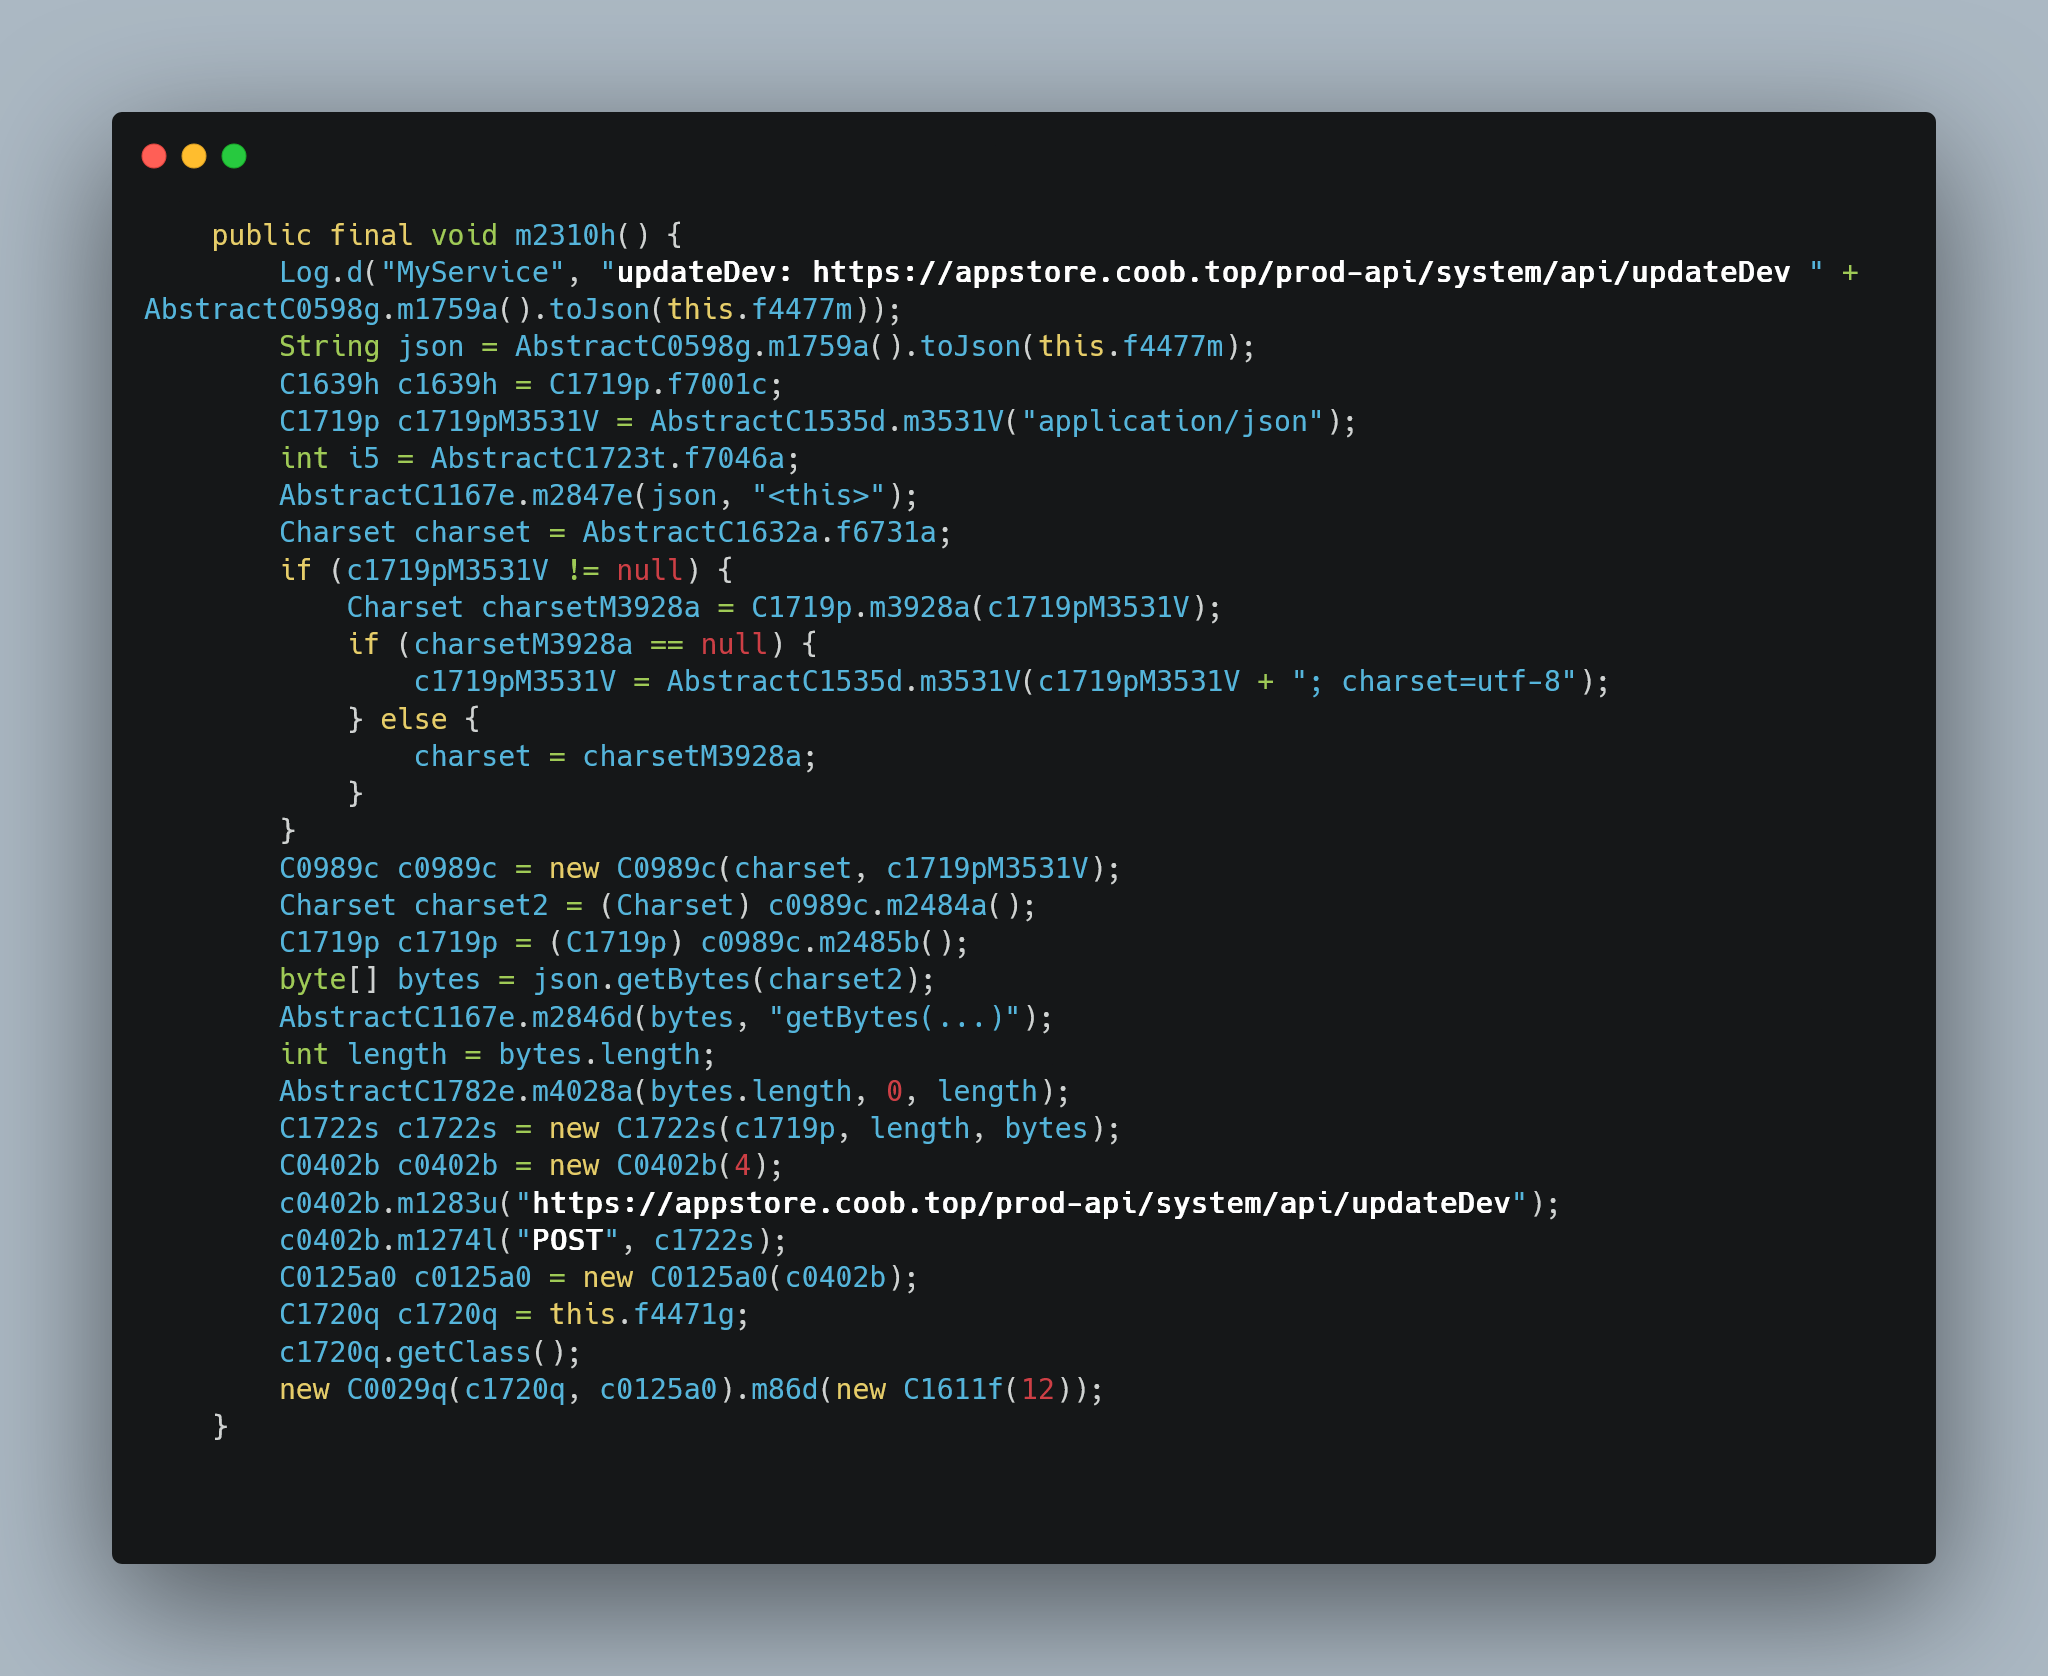
Finally, the third snippet. As we can see, there is a variable named ‘m2310h’ and it logs a string internally that looks like: ‘updateDev: https://appstore.coob.top/prod-api/system/api/updateDev’, followed by some JSON derived from another variable named ‘f4477m’???. Later on, it then sends that request to the C2. Ok, curious, now we need to figure out what ‘f4477m’ is so we can see what is being sent. Thankfully, that wasn’t too difficult. Usually, global variables are defined at the top of any piece of Java code (much like most other languages), and fortunately in this case it was no different. If we go to the top of the file we can see ‘f4477m’ mentioned as referencing another class named ‘AsDevice’.

Then I noticed in the sidebar that there was a subfolder named ‘bean’, and in this subfolder lied the ‘AsDevice’ class.
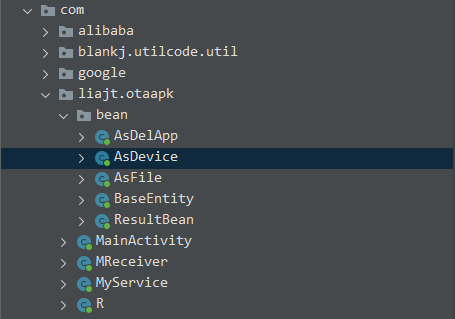
Now, as for what’s inside the ‘AsDevice’ class, it basically just creates a bunch of new strings that look similar to this:
public String getAndroidVer() {
    return this.androidVer;
}
But don’t get me wrong, there are many of these. It gathers information on everything from Android version, chip type and status of the device, all the way to your EXACT FUCKING LATITUDE AND LONGITUDE!!!!!!!!!!!
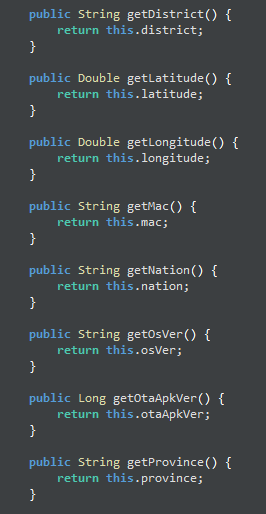
Now, if you just search for the variables listed like ‘getLongitude()’ in the project, you can find other small snippets of code in the APK where it requires INTENSE GPS permissions without giving you (the user) any warning that this app is requesting these permissions. I won’t show screenshots of it here as it’s ultimately irrelevant, we can see clearly in ‘AsDevice’ that we know what it does.
Regardless, if we go back to the third snippet, we can now finally start to put all the little pieces together that we’ve learned thus far.

Ok, gather around everyone, team meeting, this is what we know so far. A variable in the ‘MyService’ class named ‘m2310h’ has some funky stuff going on. It sends a POST request to https://appstore.coob.top/prod-api/system/api/updateDev with some data that it converts into JSON included. We can see that this JSON is gathered from a link which points it to a separate class named ‘AsDevice’, if we look at the ‘AsDevice’ class, we can see that it gathers a bunch of system specs and your literal fucking address, then sends it to the ‘updateDev’ endpoint mentioned above by following what I just explained in reverse.
deep breath, hooooooooooooly shit.
So why not simulate that ourselves? I tried making a POST request with curl using the exact same data (the results of ‘f4477m’ converted into JSON) but I filled the designated fields with random data, it looked like this:
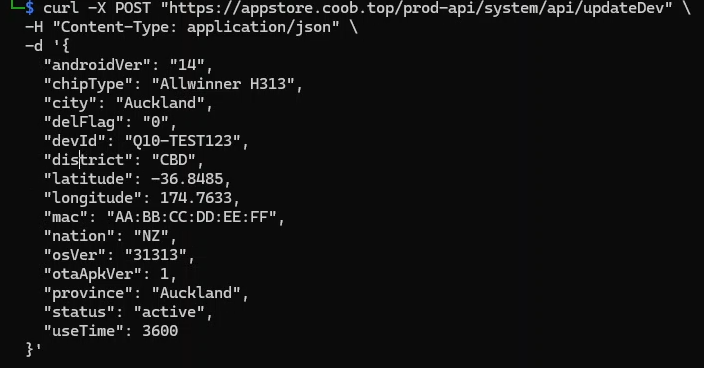
And the response I got:
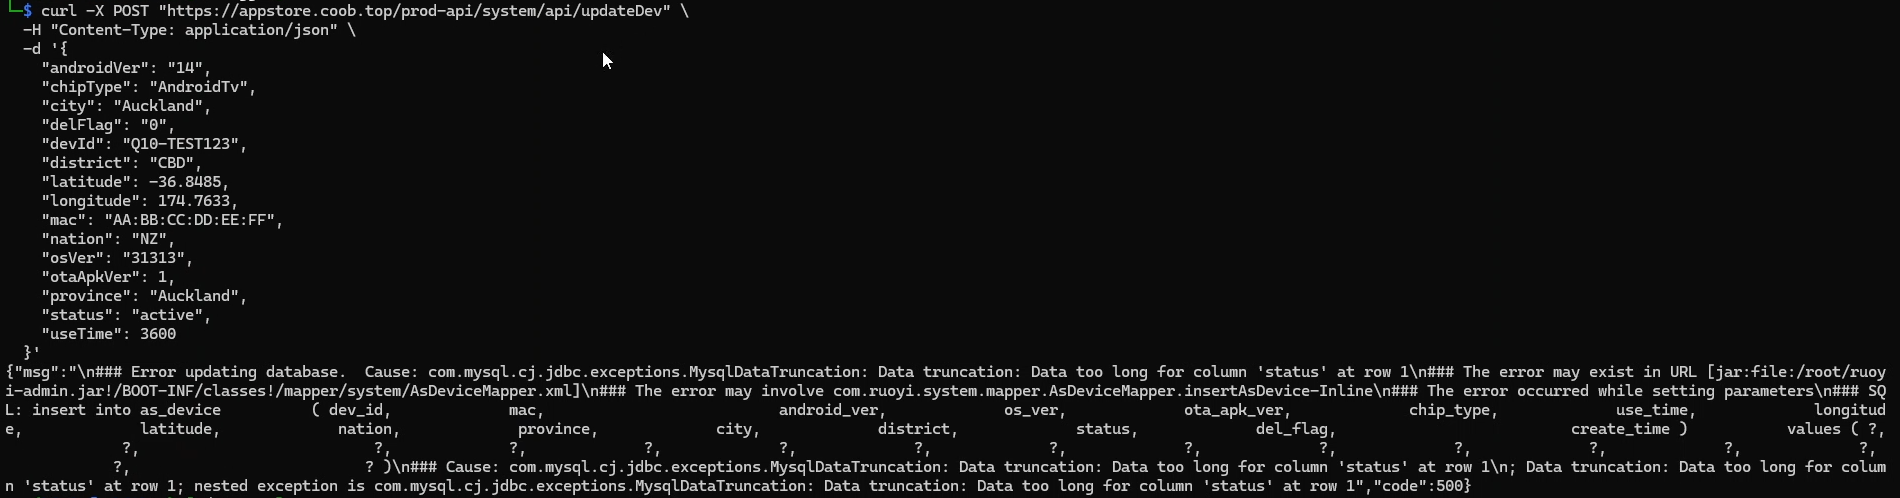
Yep, accidental SQLi -_-. Absolute cinema, but on the bright side, this does give us some information about what type of API this is running, if we look at the filename that it’s calling, we can see a curious string in it called ‘ruoyi-admin.jar’, this can be further confirmed if we go to the /prod-api path of the C2, we can see this curious lil message.
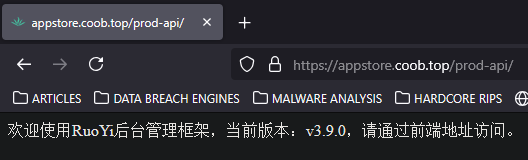
Now, I don’t speak Chinese, so I chucked it into Google Translate and this is what it gave me:
Welcome to the RuoYi backend management framework, current version: v3.9.0, please access it through the front-end address.
Hmm, upon further research, RuoYi is an incredibly popular Chinese-made open source framework that leverages Spring Boot and Vue for building APIs in quite a simple manner. I spent a few days manually scouring the source code of this (big) repo looking for any way to gain access to the main dashboard, including looking for SQLi avenues but sadly, everything is quite well sanitized. I even tried using tools like sqlmap and Ghauri on the ‘/updateDev’ endpoint I discussed earlier, but sadly to no avail (mainly due to the fact that the site uses a CloudFlare WAF)
So in conclusion for this segment, I shouldn’t have to explain why Chinese manufacturers getting the location of where you jerk it at night is a bad thing. But the TL;DR is ‘data collection’. Let’s take this APK as an example, based on the information that gets sent to the C2, they can then use this data to track your watching habits (via further telemetry), send this to a more centralized server in the PRC which aggregates telemetry and marketing data from ALL the available sources and feeds you more ads from that.
For example, let’s say you really enjoyed Stranger Things and watched it via the Netflix app on the Q10 box, telemetry about what you watched as well as your live location then gets sent to a data center in China. You also have a smartphone with TikTok installed which you browse frequently, now, the aforementioned data center will look at the location it gets from TikTok (on your phone), and the location of where you watched Stranger Things (the Q10 box), plus maybe you’ve searched for Stranger Things on TikTok. Using a mixture of AI and unimaginably precise algorithms, it will make a decision of ‘this is the same person’ and will start sending you ads on TikTok for Stranger Things merch from sites like AliExpress and Temu. This system is designed to work against you for the advancement of a world where privacy is a thing of the past.
Anyways, let’s move away from the OTA update program for now and talk about what I originally bought this box for, to remove malware. If we take a look at the packages I detected on the box earlier, we can definetly see quite a fair few files that we need to dig through and remove. Fortunately, this wasn’t an issue for me as I had quite a clever idea for this. I assumed that a lot of these packages were analyzed in the past via VirusTotal, so if I could find a way to search them up on there, see which ones had a high malware score, then I’d know which ones I’d need to remove.
One issue with that though, I’d surely get rate-limited by VirusTotal if I tried to upload all of them at once, and I wasn’t prepared to pay $25k USD for enterprise access. So I came up with a bit of an ingenius idea. I wrote a simple Python script which pulled all the APK files to my PC via adb, then SHA256 hashed them and printed the hashes next to the package name. Awesome. After doing this I got a long list of SHA256 hashes that I manually plugged into VirusTotal one-by-one. After my analysis, I came to a pretty clear conclusion.
These were the packages that raised the most suspicion for me as they all had fairly high ratings on VirusTotal. So I just uninstalled them each one-by-one with the command:
adb shell pm uninstall --user 0 $package_name_hereNow, this command sadly has a bit of a downside. Do you notice that ‘—user 0’ flag in the middle? That basically tells it to uninstall the program from my user, however it doesn’t remove the program systemwide as these programs were installed with root. So while this doesn’t delete the packages entirely, it does render them basically useless.
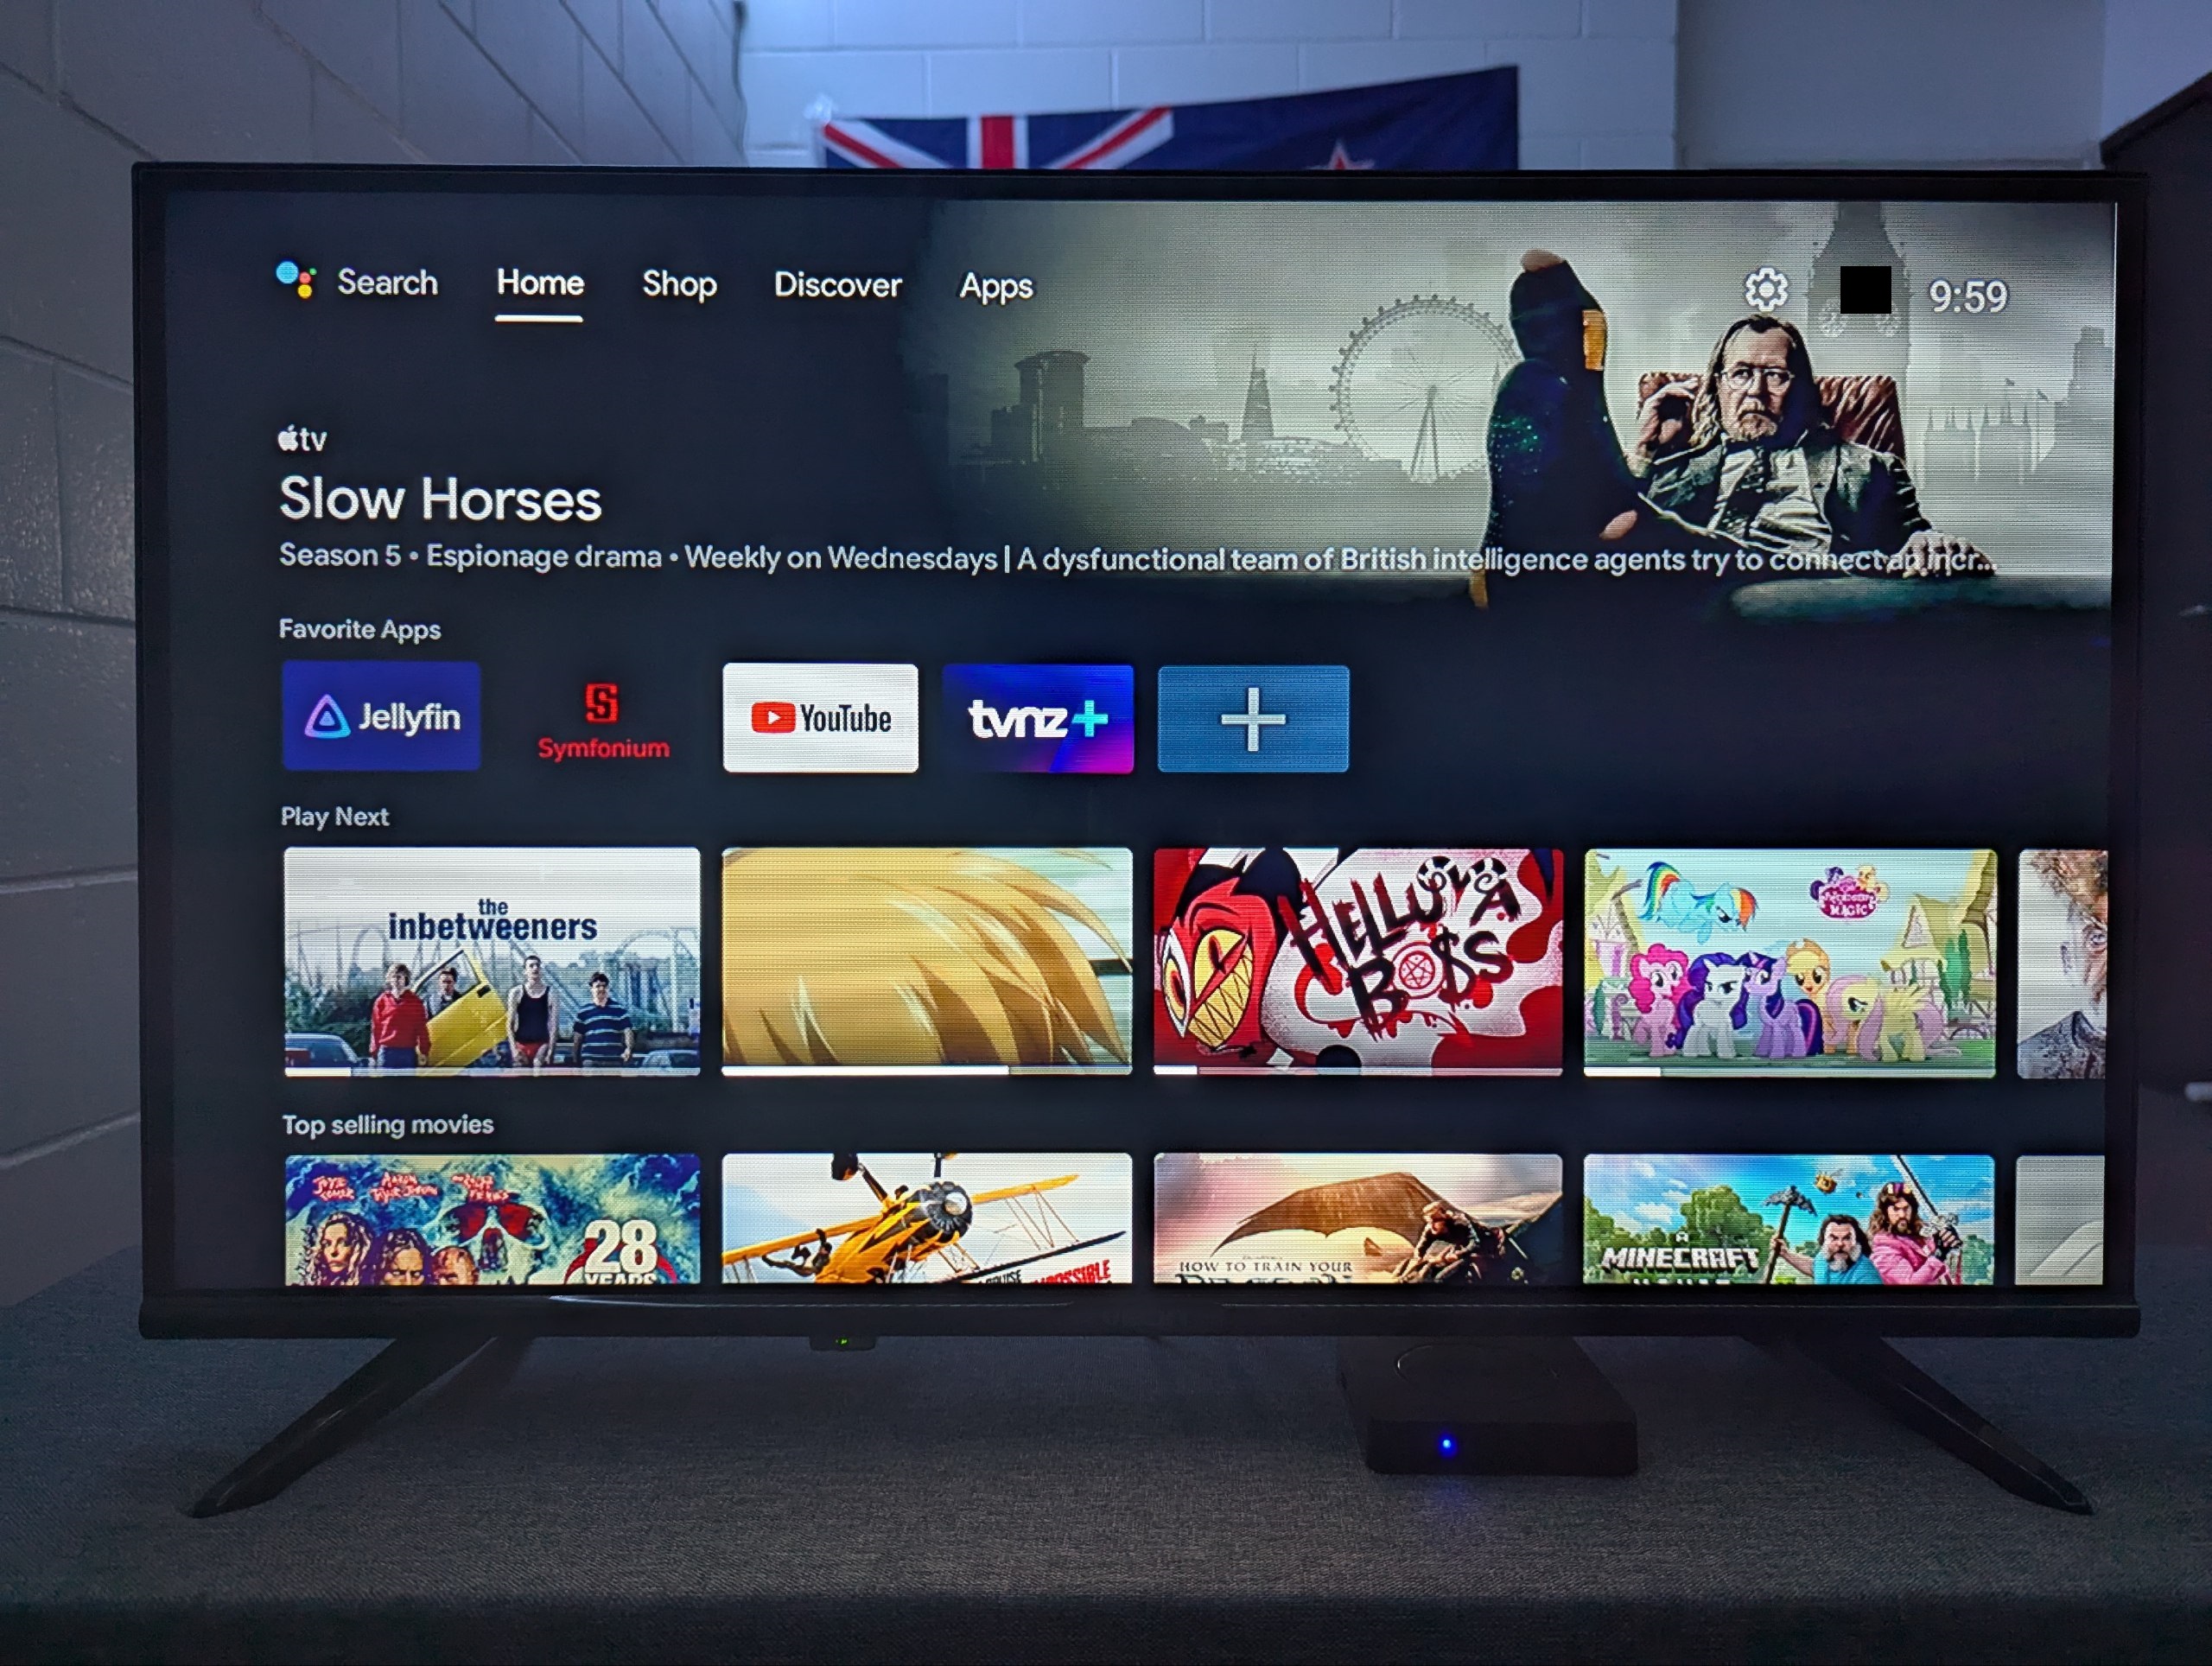
So after that, I rebooted my Q10 box to make sure that everything was alright and voila, it was about as stock as I could get it. I just manually uninstalled all the IPTV applications (as I wasn’t going to use those), sideloaded the APKs for Jellyfin, Symfonium, YouTube, TVNZ+ and boom. Total FOSS win!
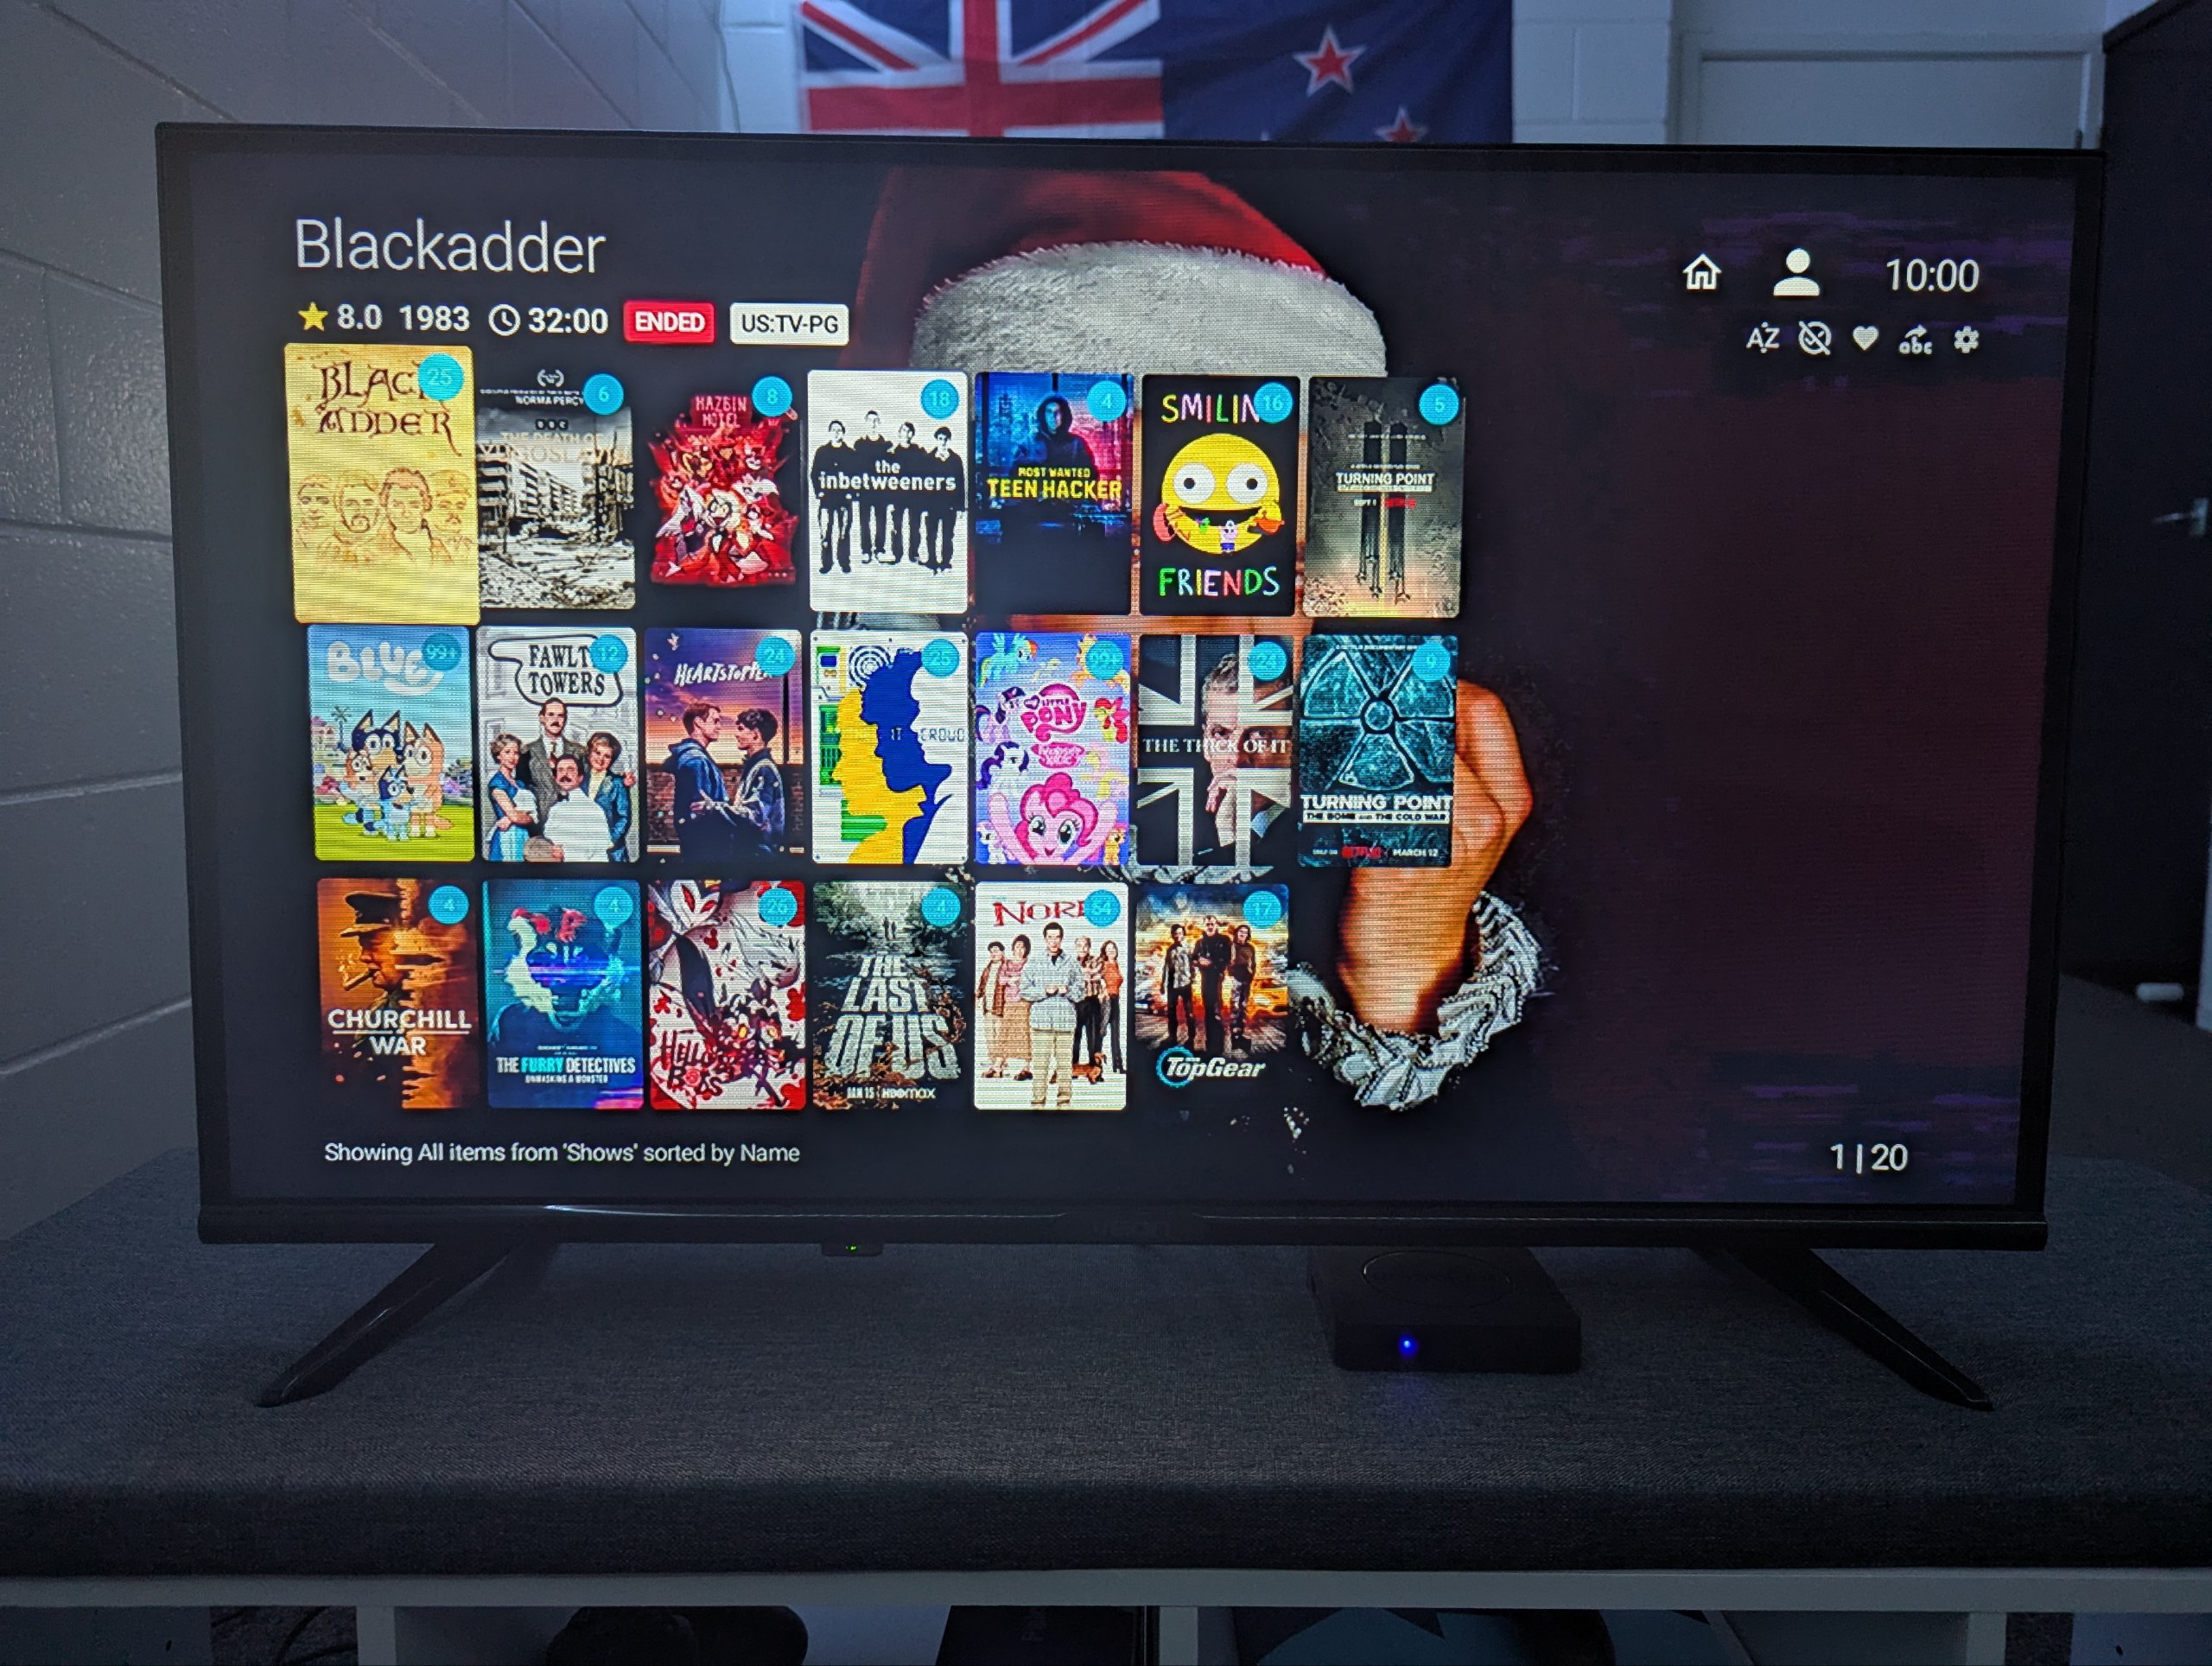
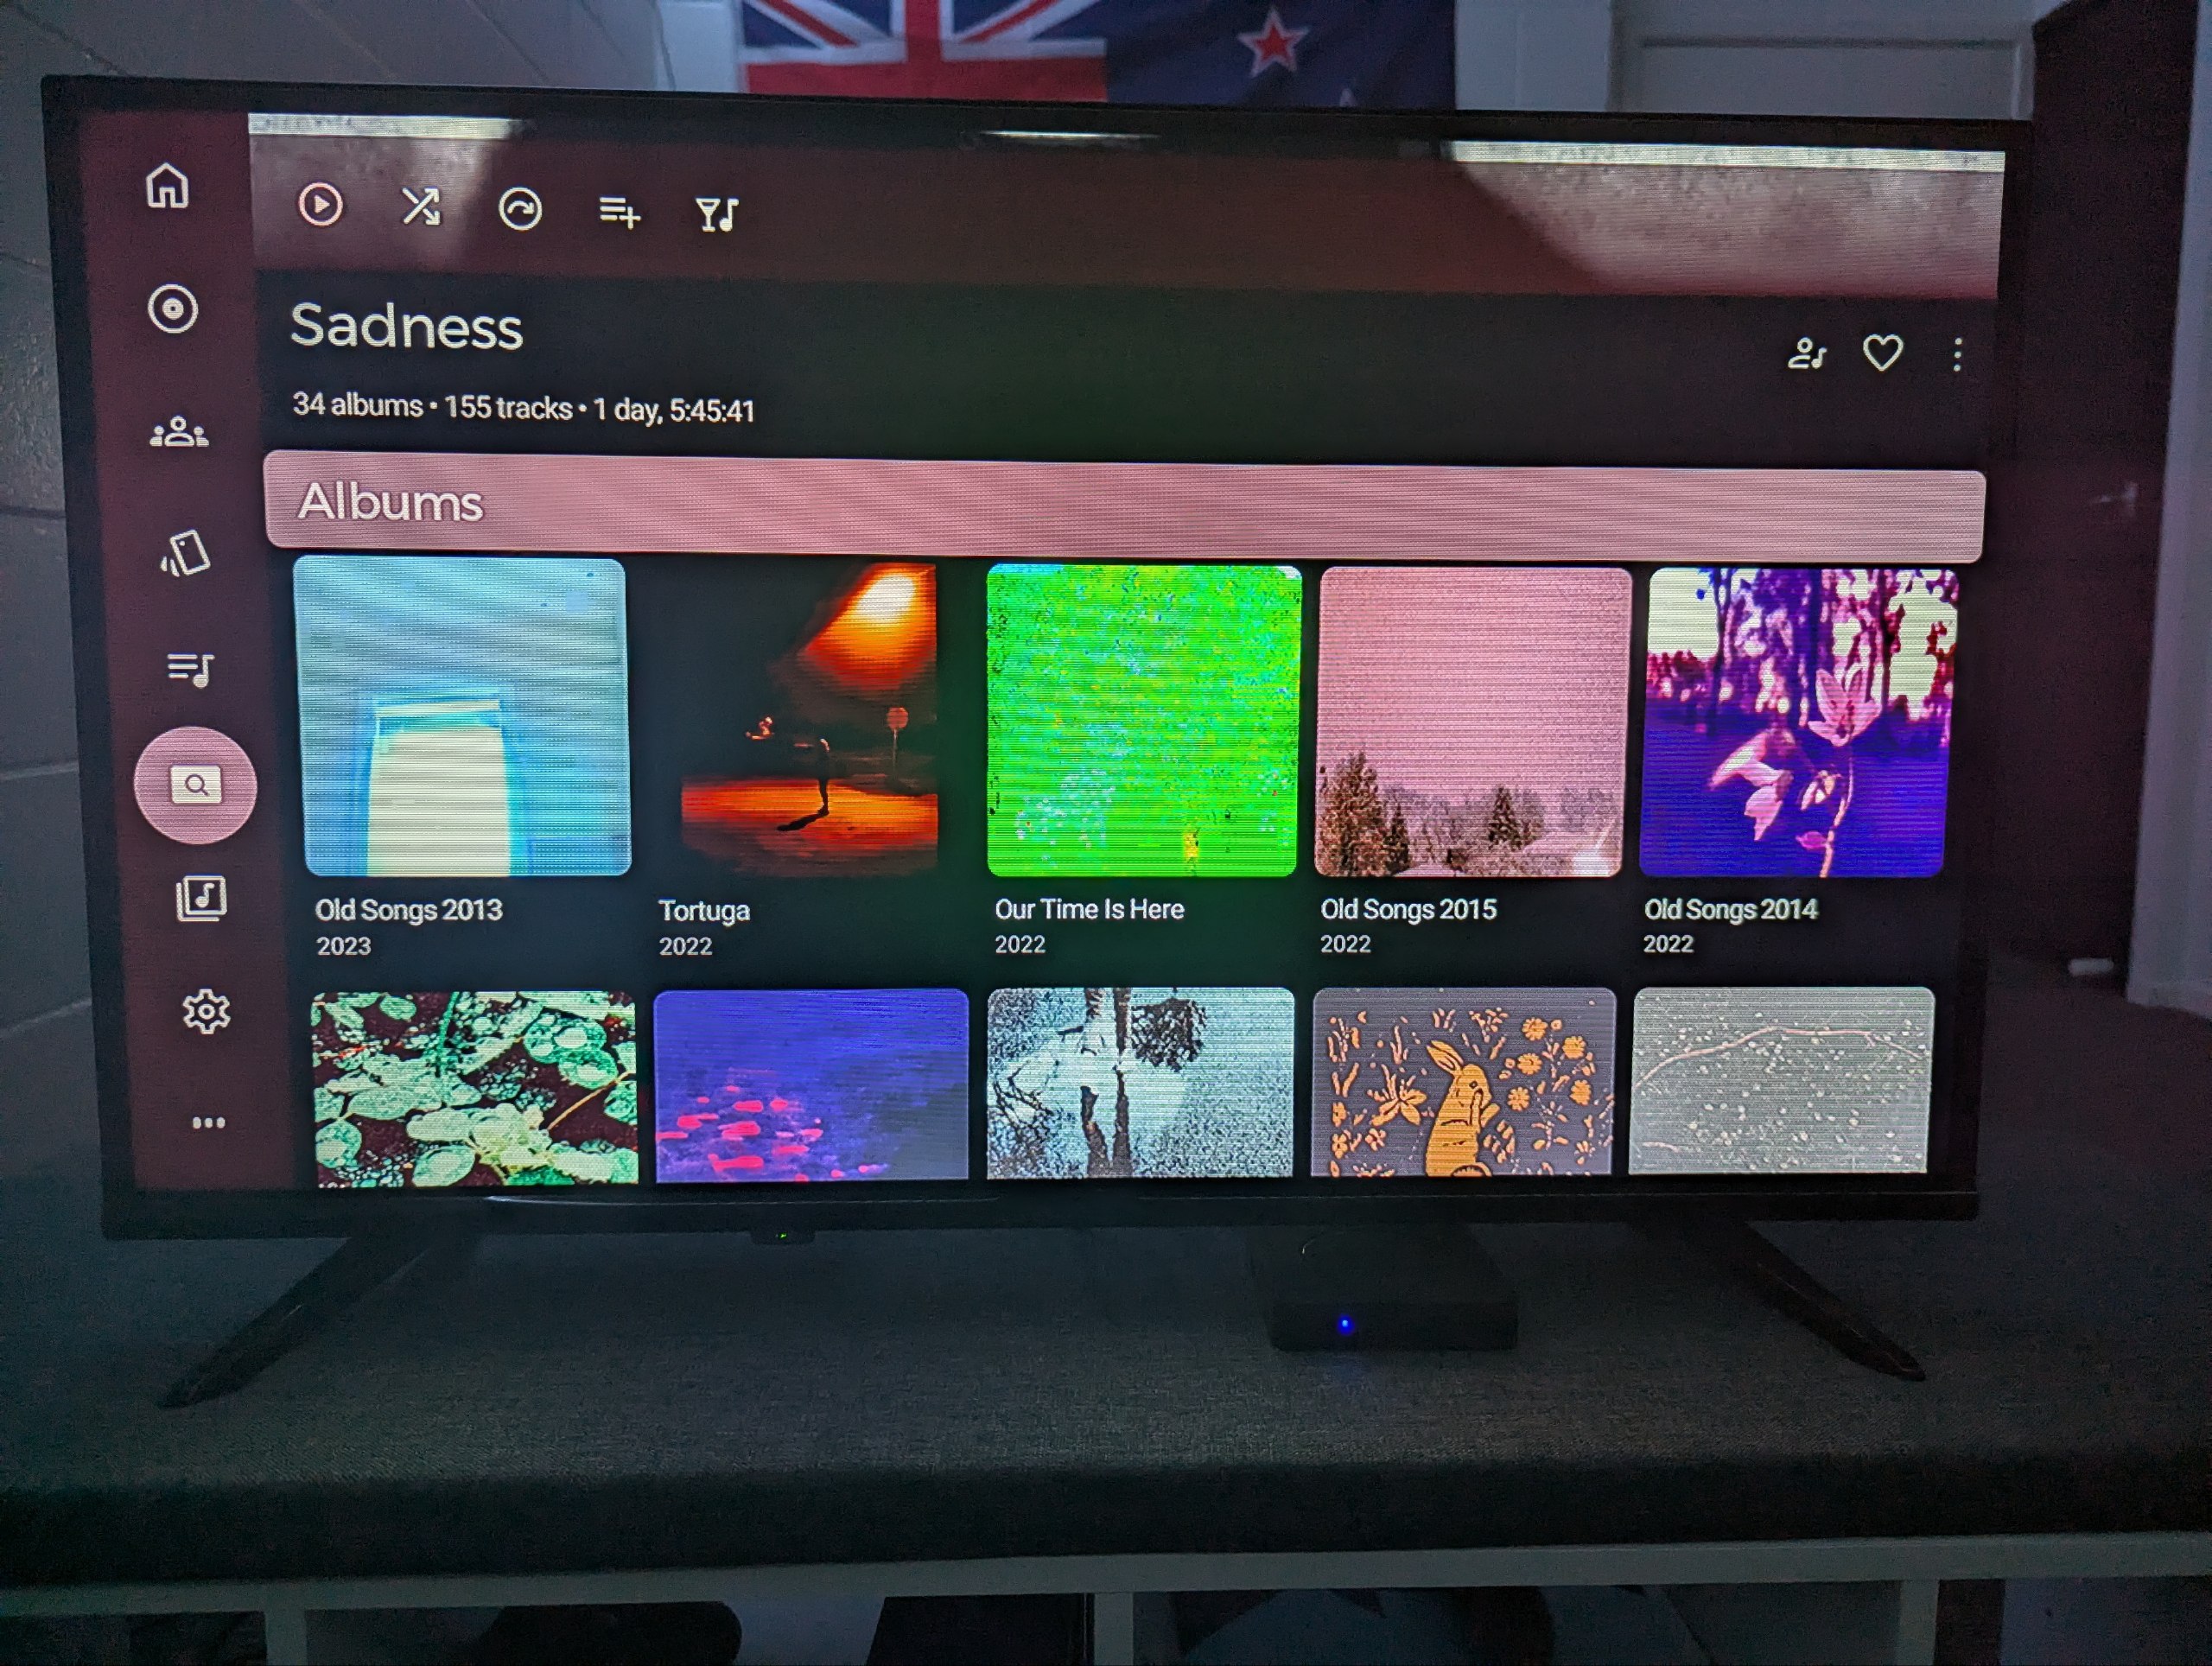
I’m now able to play any 1080p video with any type of codec, as well as stream my 200gb music library, binge some of my favorite YouTubers or watch some local Kiwi TV, all without the fear of Chinese spying!

I have to say, what an awesome little project this was! But it is definetly far from over. I’m co-operating with some amazing folks on the XDA forums to try and see if we can get a dump of the firmware for this (somehow), modify it and root it so we can fully remove these spyware packages. Best case scenario, I can even release my own firmware image for a completely stock experience with this box!
But that will be a part 2 for another day haha. Regardless, thank you all so much for reading this article, please share it to friends or family who may be interested and as always, have a great day :3
 kivirstan


